Screen Effects: Difference between revisions
(Initial content) |
mNo edit summary |
||
| (3 intermediate revisions by one other user not shown) | |||
| Line 1: | Line 1: | ||
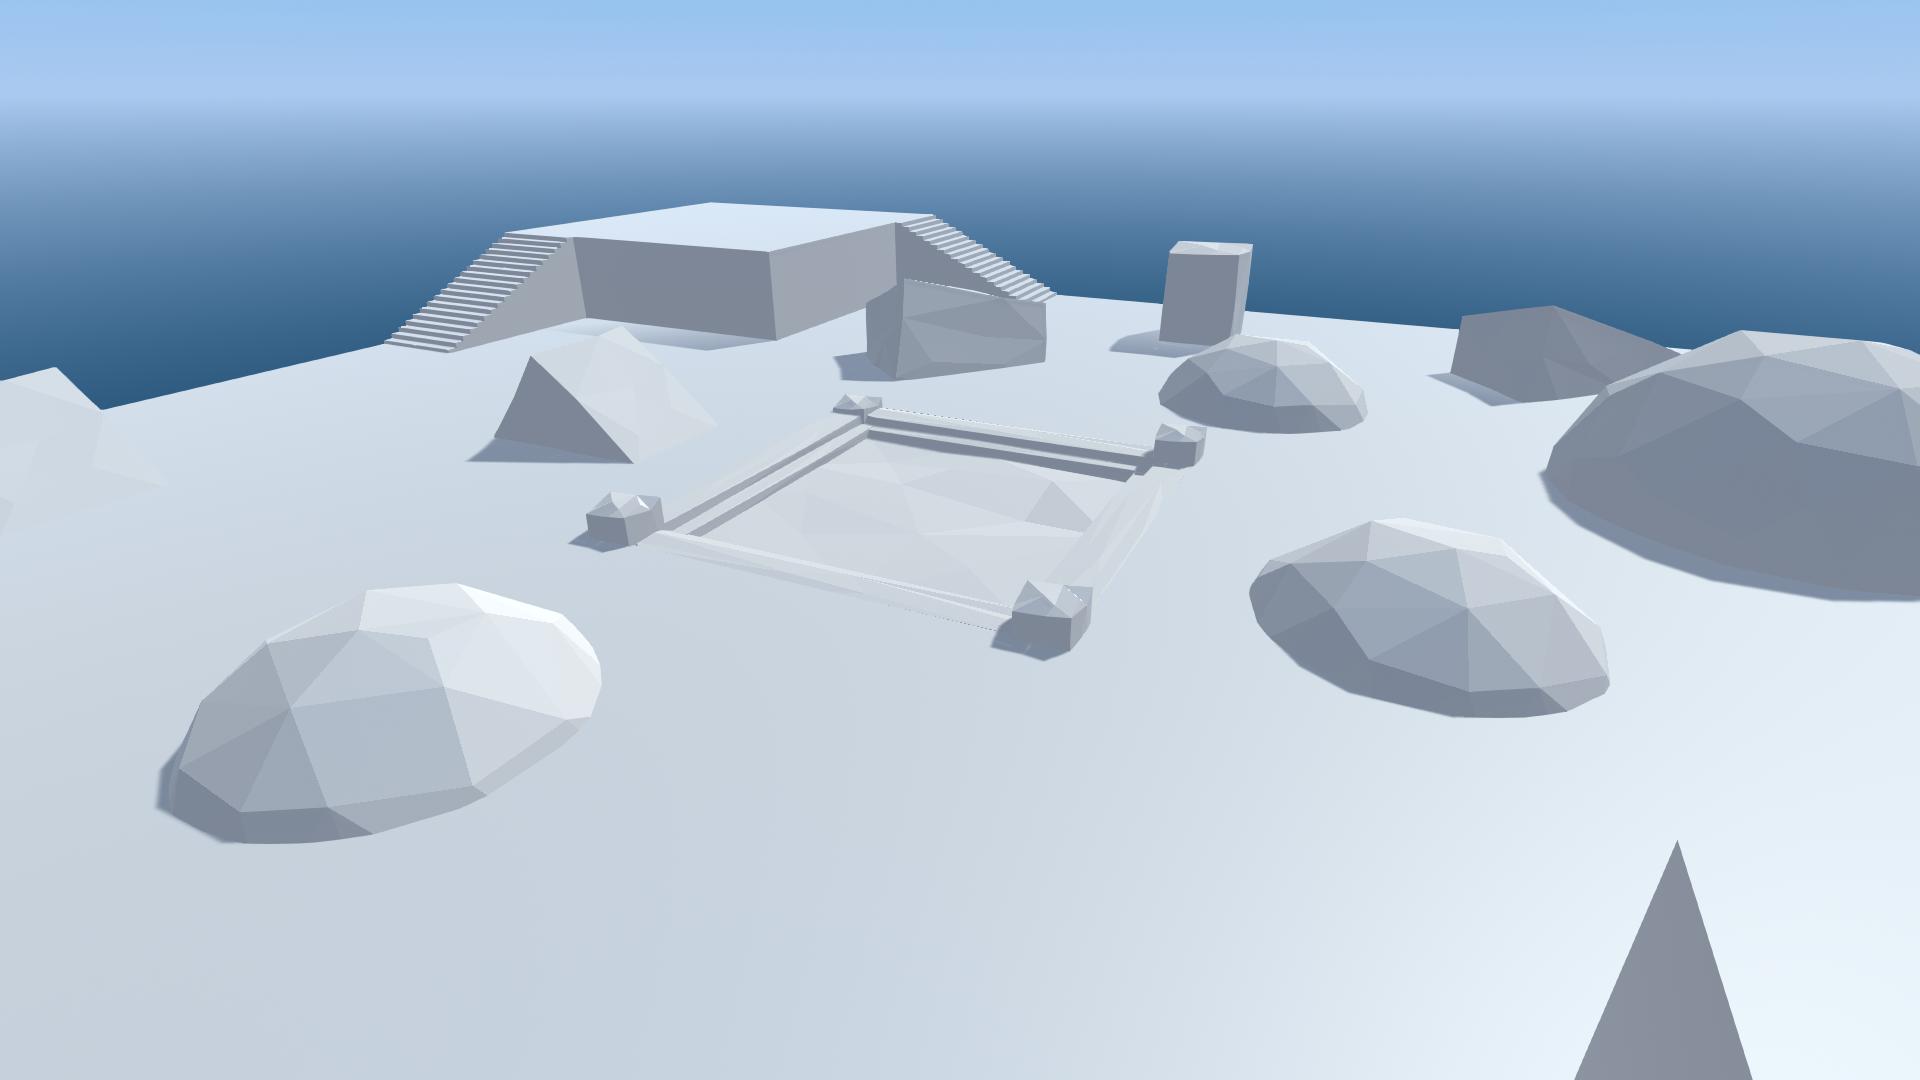
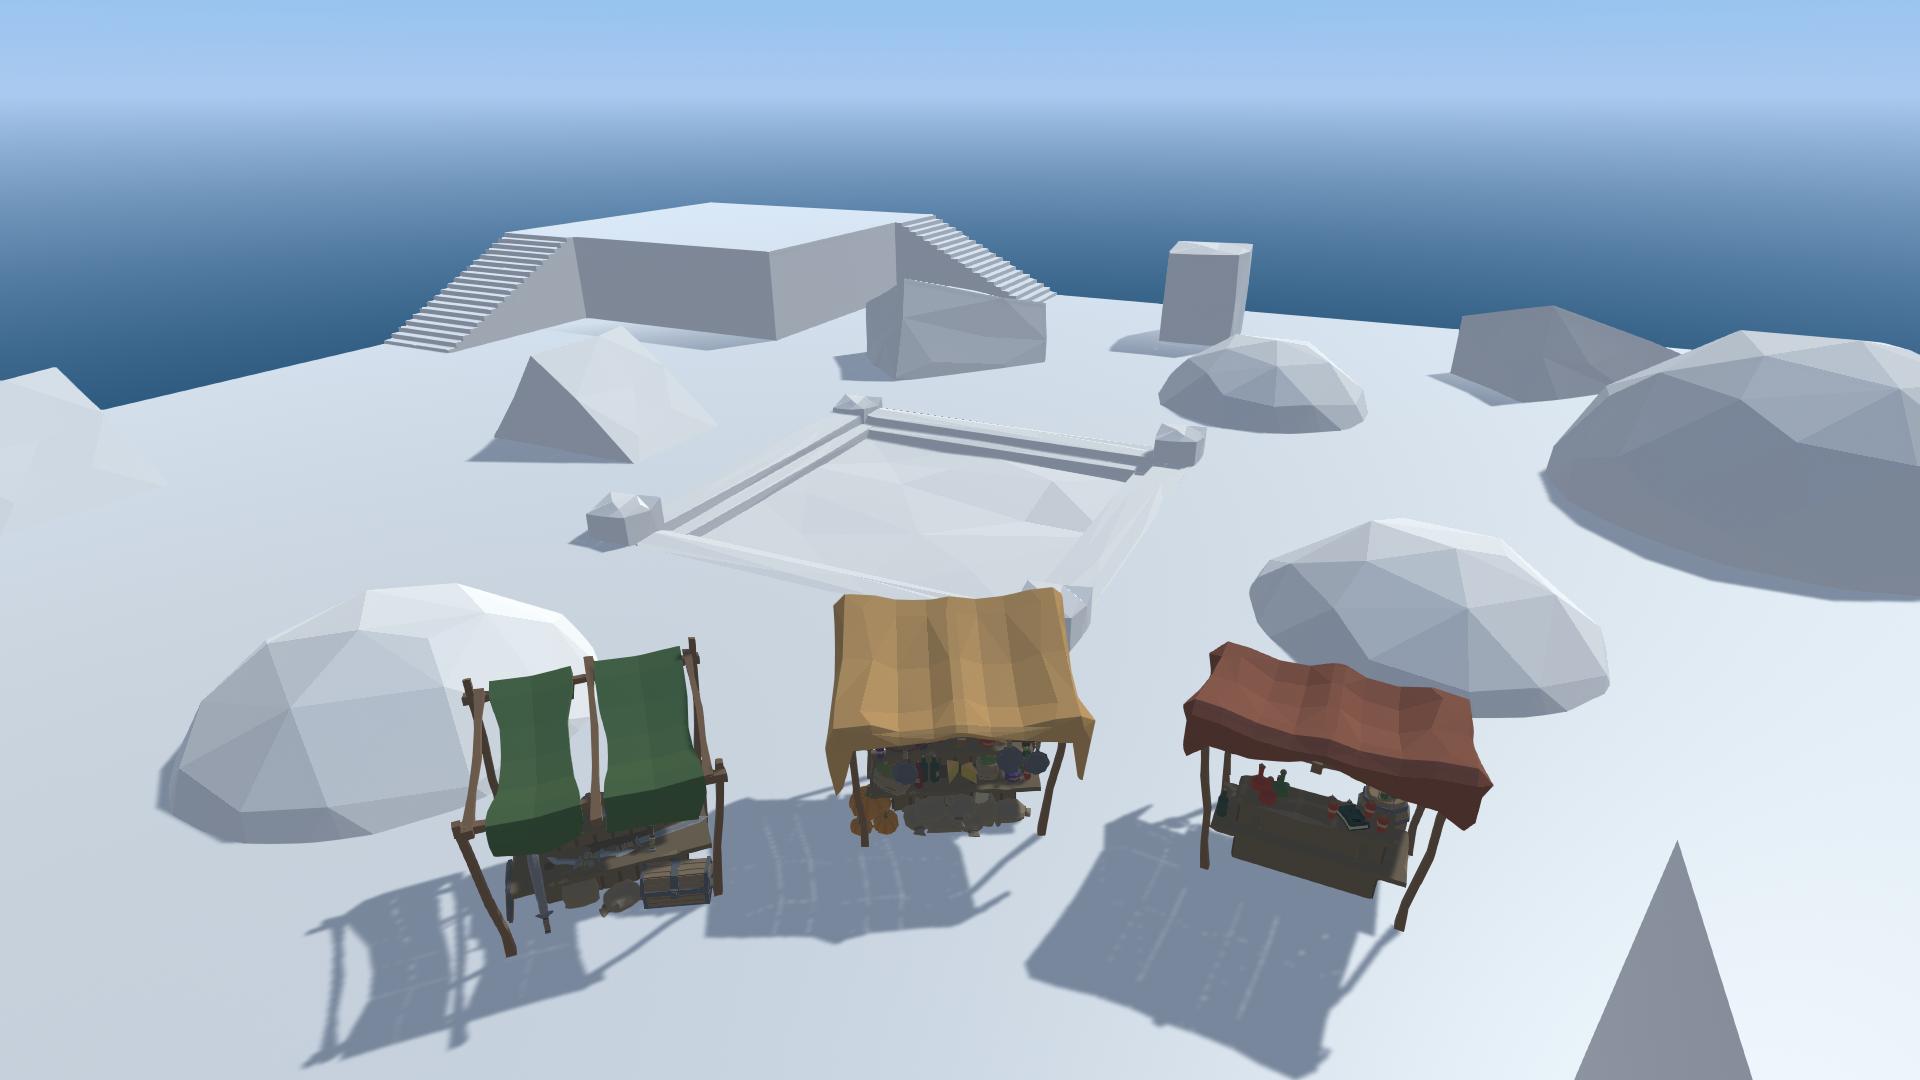
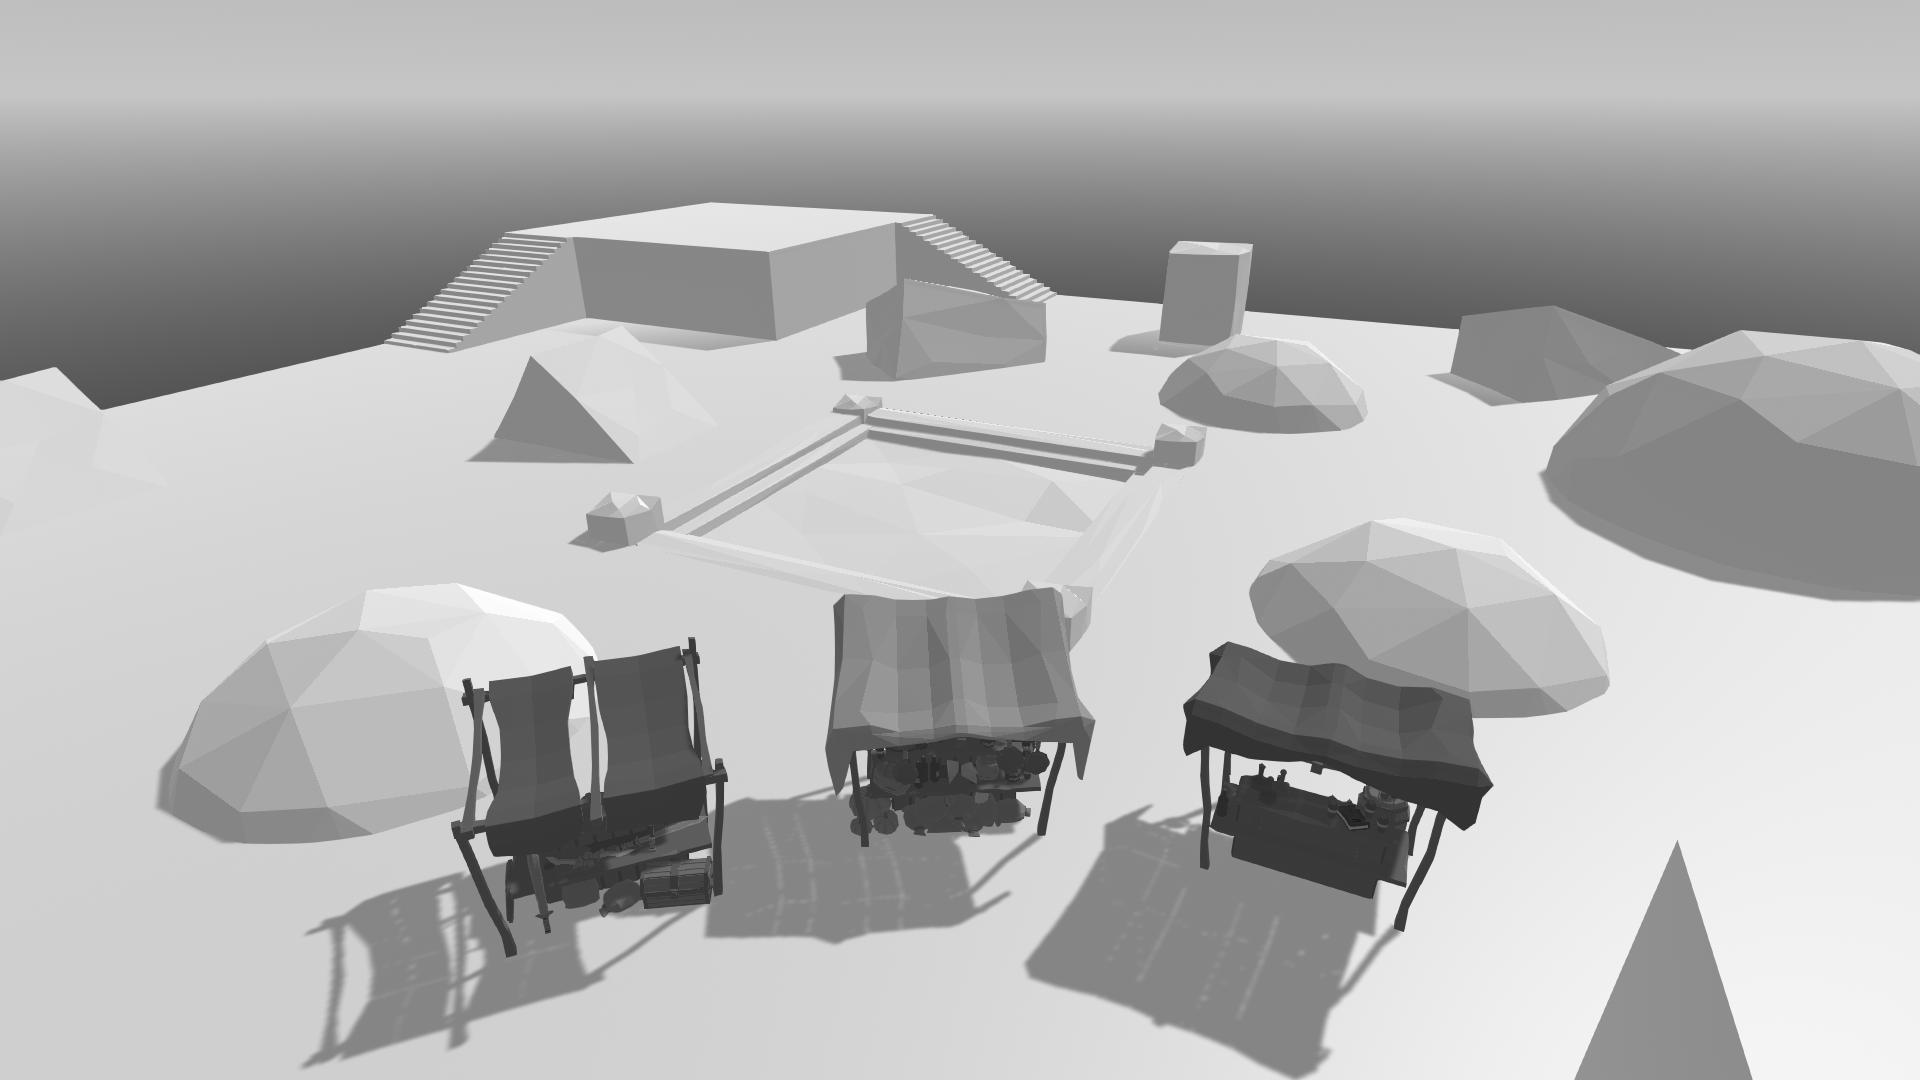
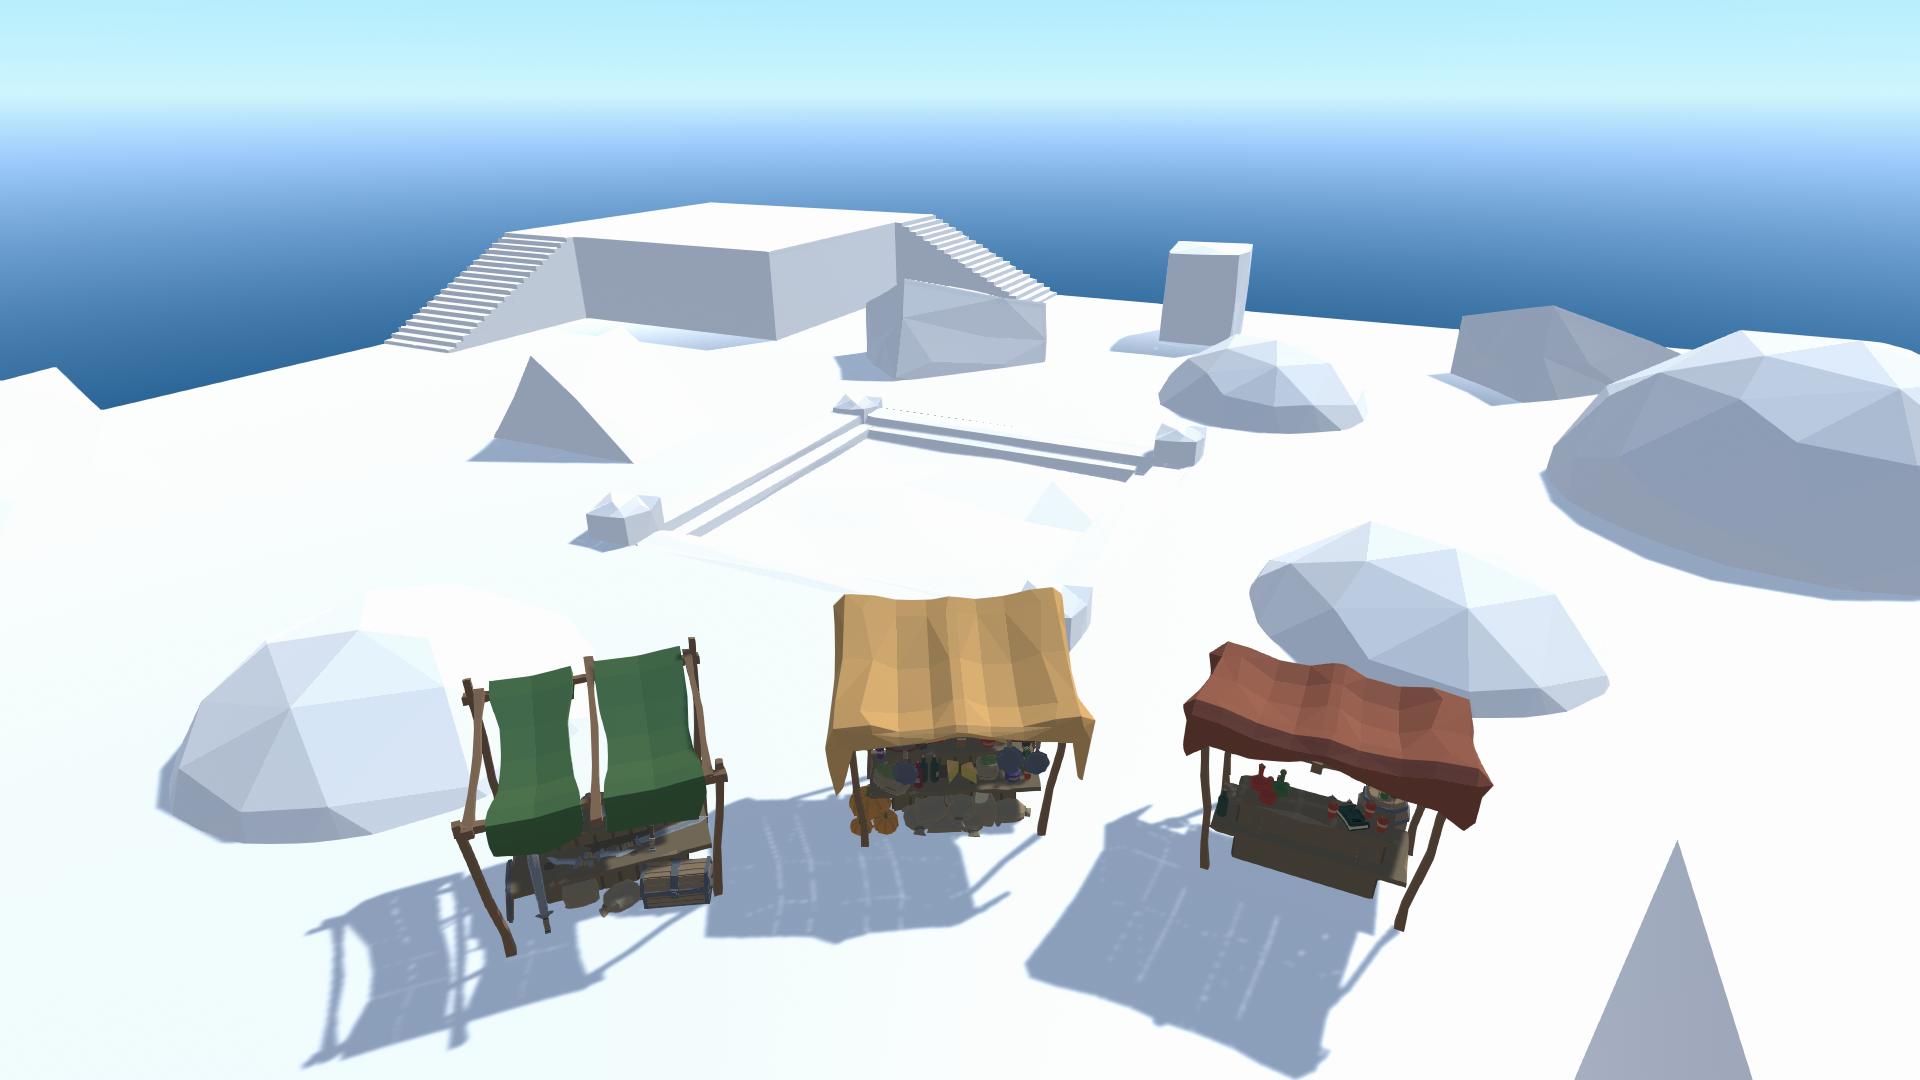
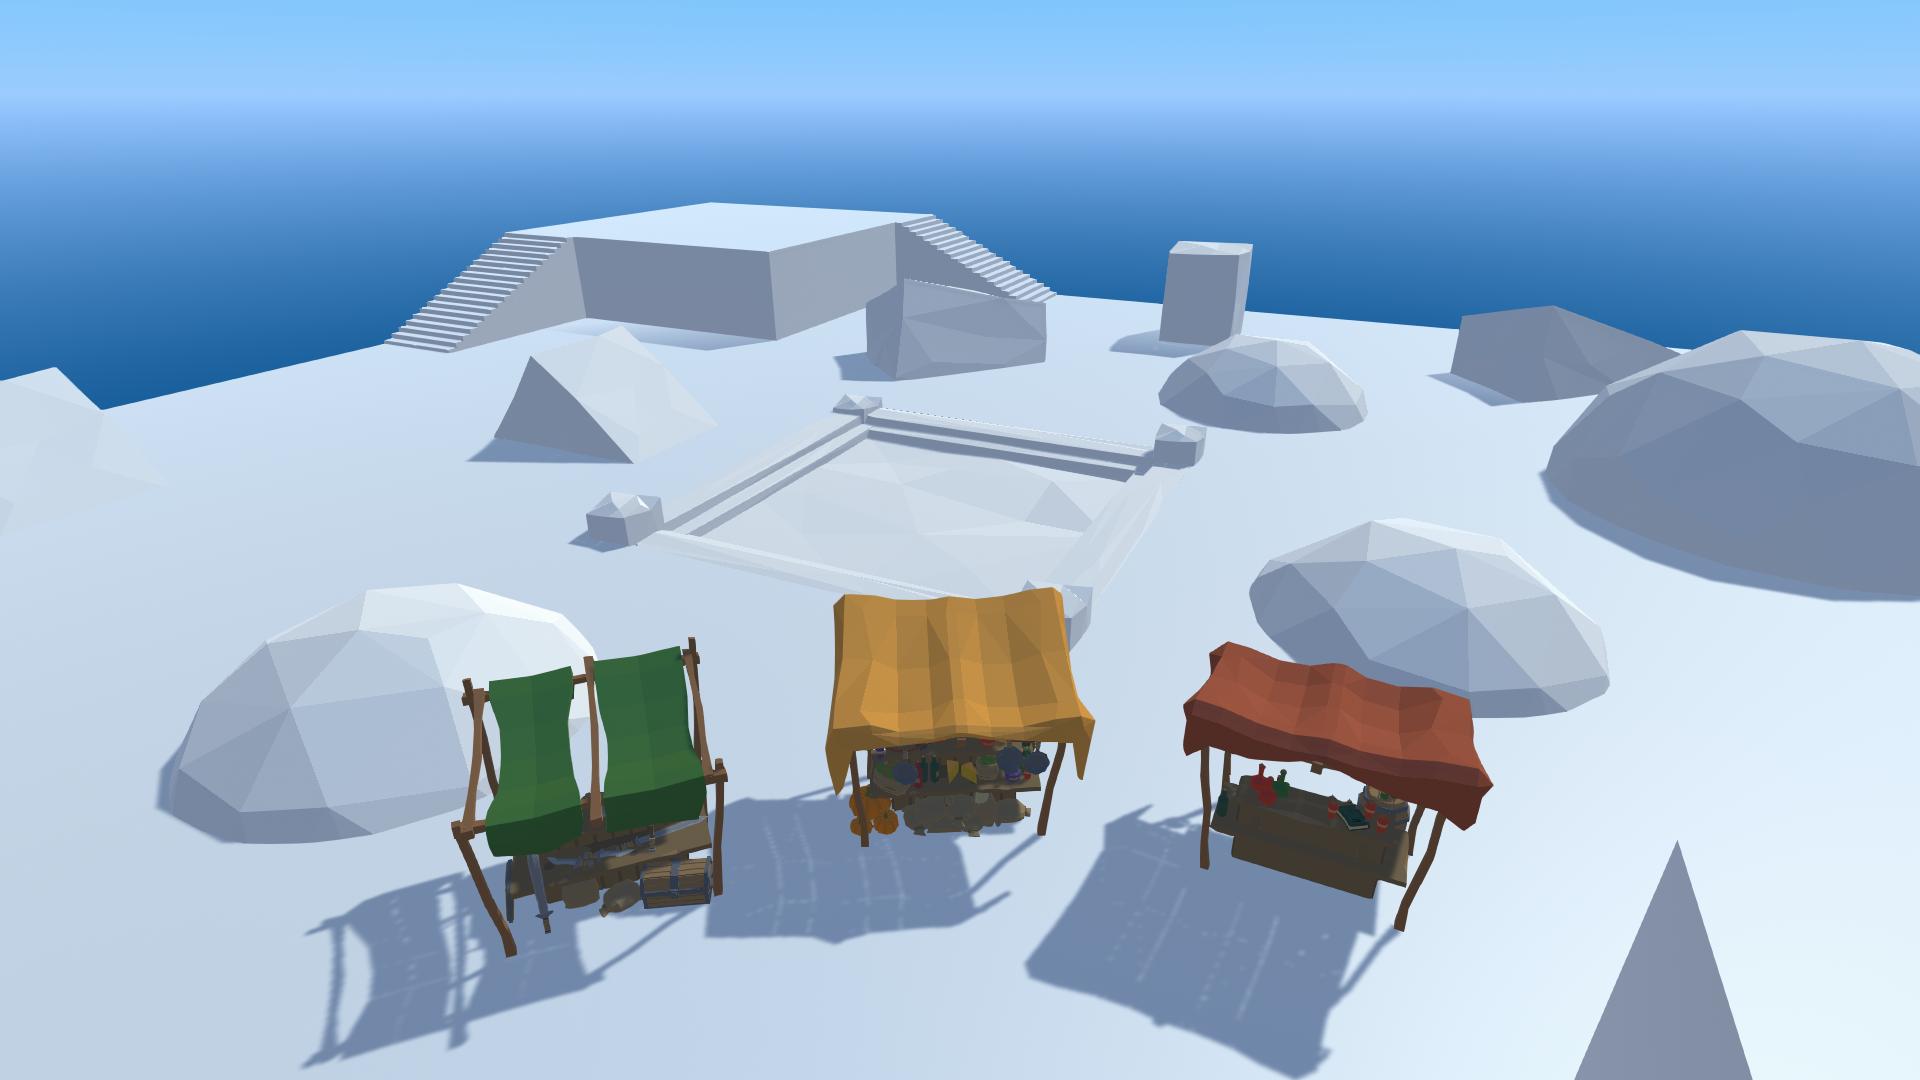
Screen effects are post processing effects applied to the camera's view of the scene. | [[File:ScreenEffectExampleNoEffects.jpg|thumb|right|400px|Scene with no screen effects applied.]] | ||
Screen effects are post-processing effects applied to the camera's view of the scene. | |||
There are some preset screen effects built-in, but since these effects are largely up to user preference, mod creators are encouraged to experiment with the various effects and create a custom set of screen effects, or just use the default. | |||
===Ambient Occlusion=== | |||
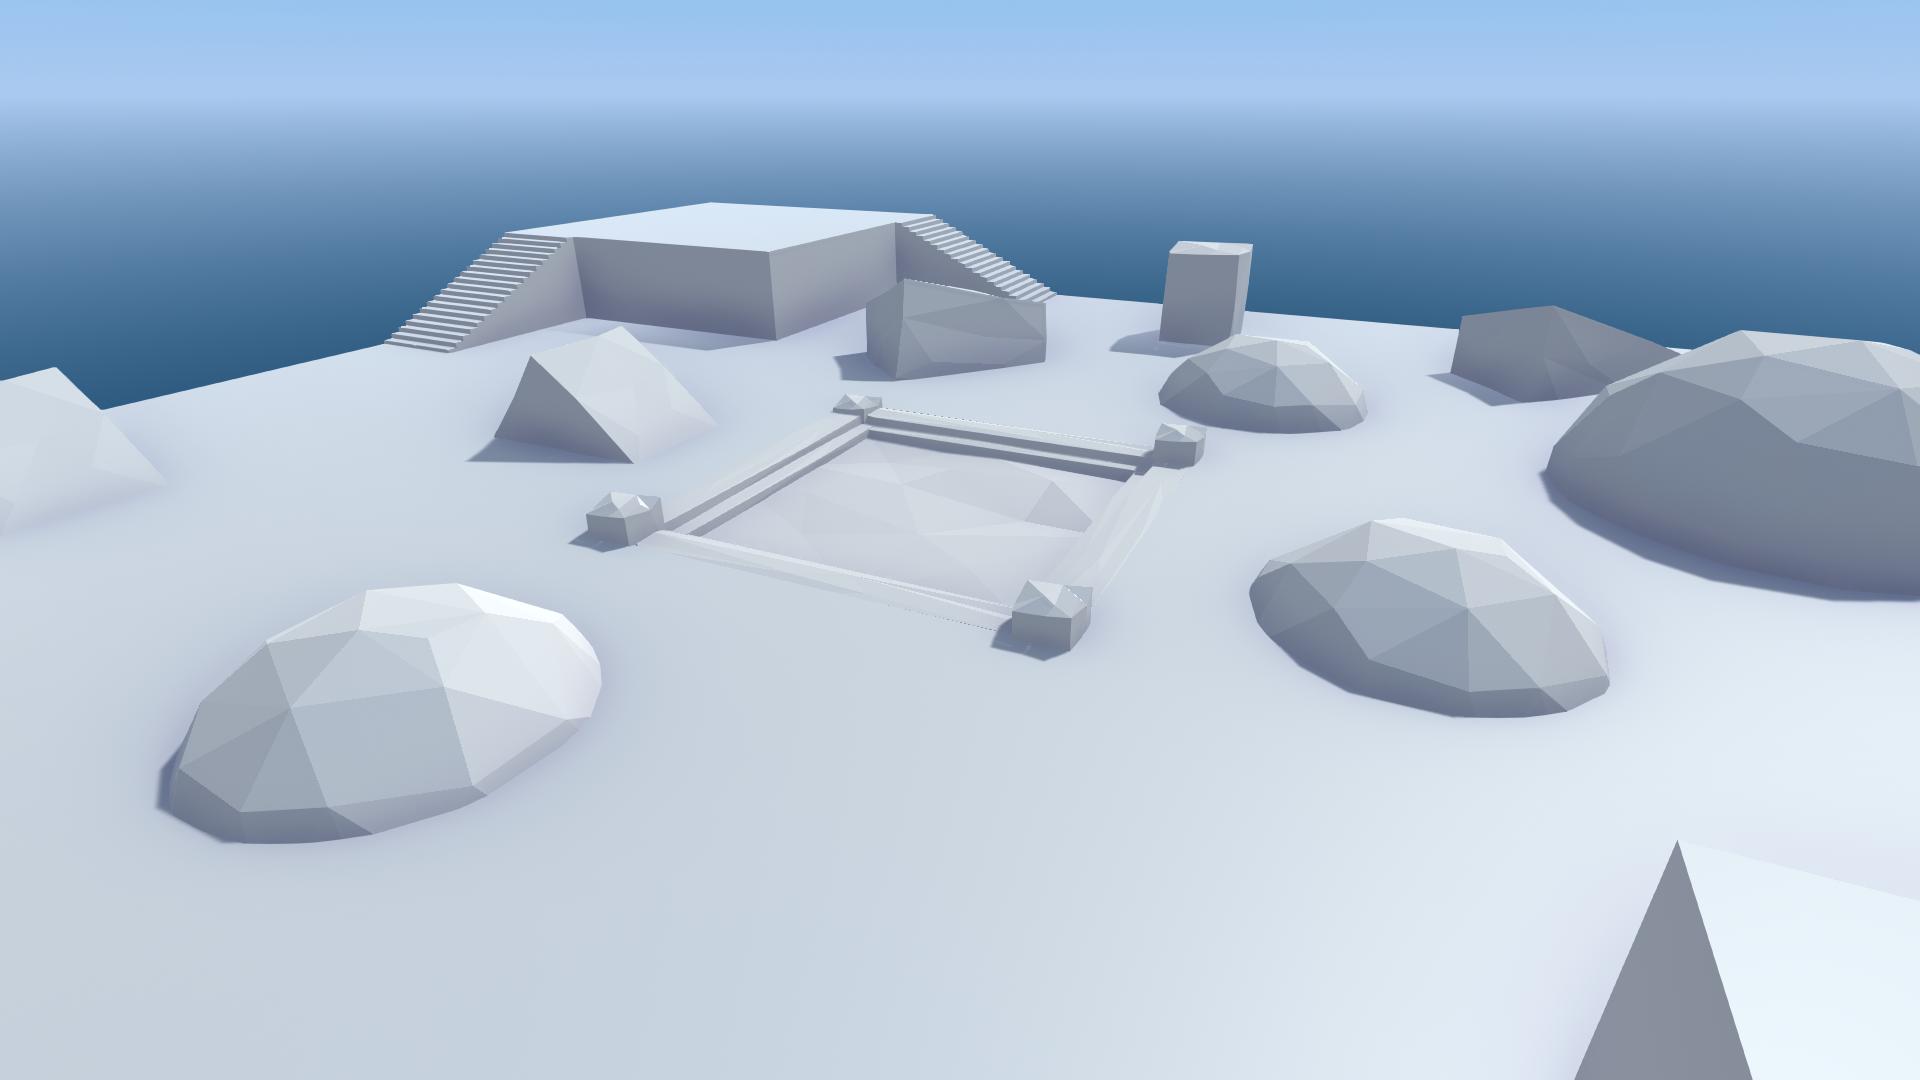
[[File:ScreenEffectExampleAmbientOcclusion.jpg|thumb|right|400px|Scene with ambient occlusion on.]] | |||
Adds a shadow/shading in corners and inner edges where objects meet. | |||
{| class="wikitable" | |||
|- | |||
! Property !! Description | |||
|- | |||
| '''Mode''' || The type of ambient occlusion. Different modes give slightly different results visually. | |||
|- | |||
| style="padding-left: 2em;" | '''Radius''' ''(Scalable Ambient Obscurance only)'' || Controls the extent of the darkening effect. Higher values spread the effect further. | |||
|- | |||
| style="padding-left: 2em;" | '''Thickness Modifier''' ''(Multi Scale Volumetric Obscurance only)''|| The thickness or spread of the shading effect. | |||
|- | |||
| '''Intensity''' || The strength of the ambient occlusion shading effect. | |||
|- | |||
| '''Color''' || The color of the shading effect. | |||
|- | |||
| '''Ambient Only''' || Makes the shading effect only affect ambient lighting. When disabled the effect is much more noticeable. | |||
|- | |||
|} | |||
<br clear="all"> | |||
===Bloom=== | |||
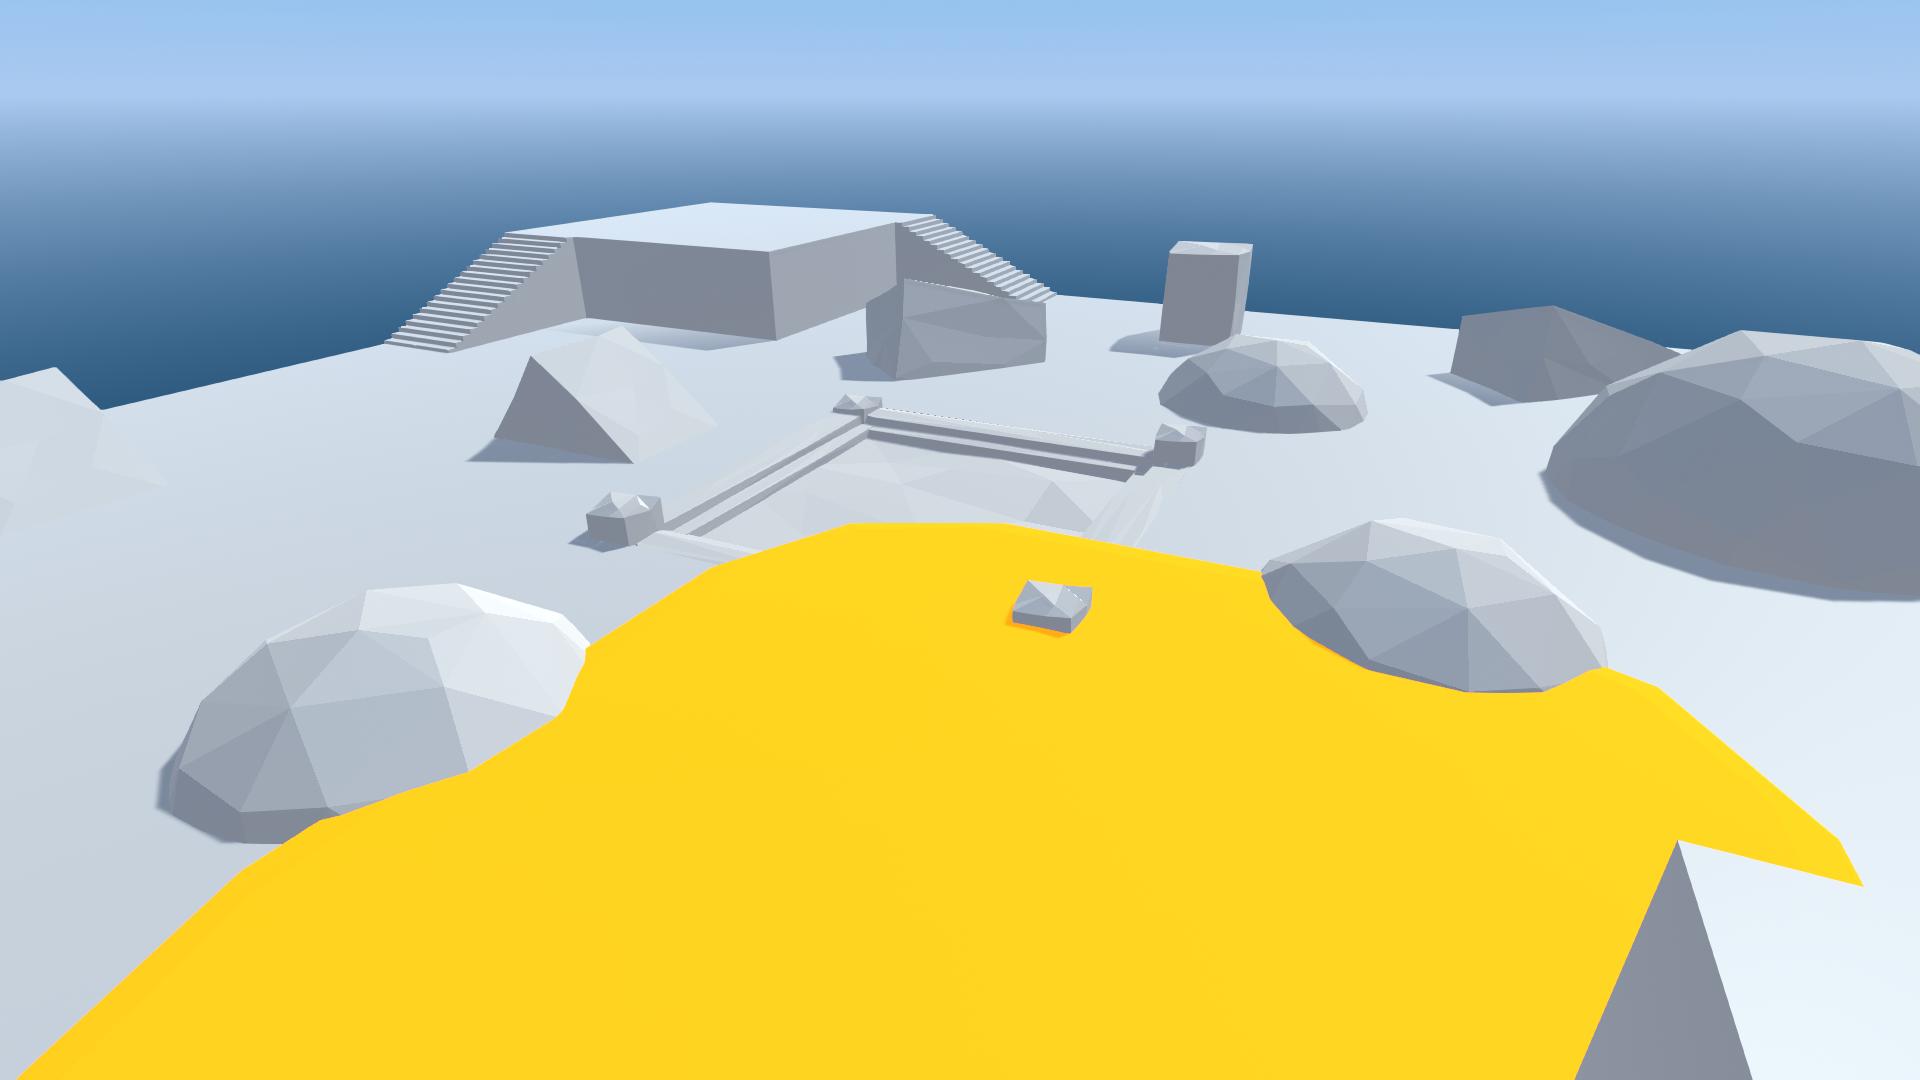
[[File:ScreenEffectExampleBloomOff.jpg|thumb|right|300px|Scene with bloom off.]] | |||
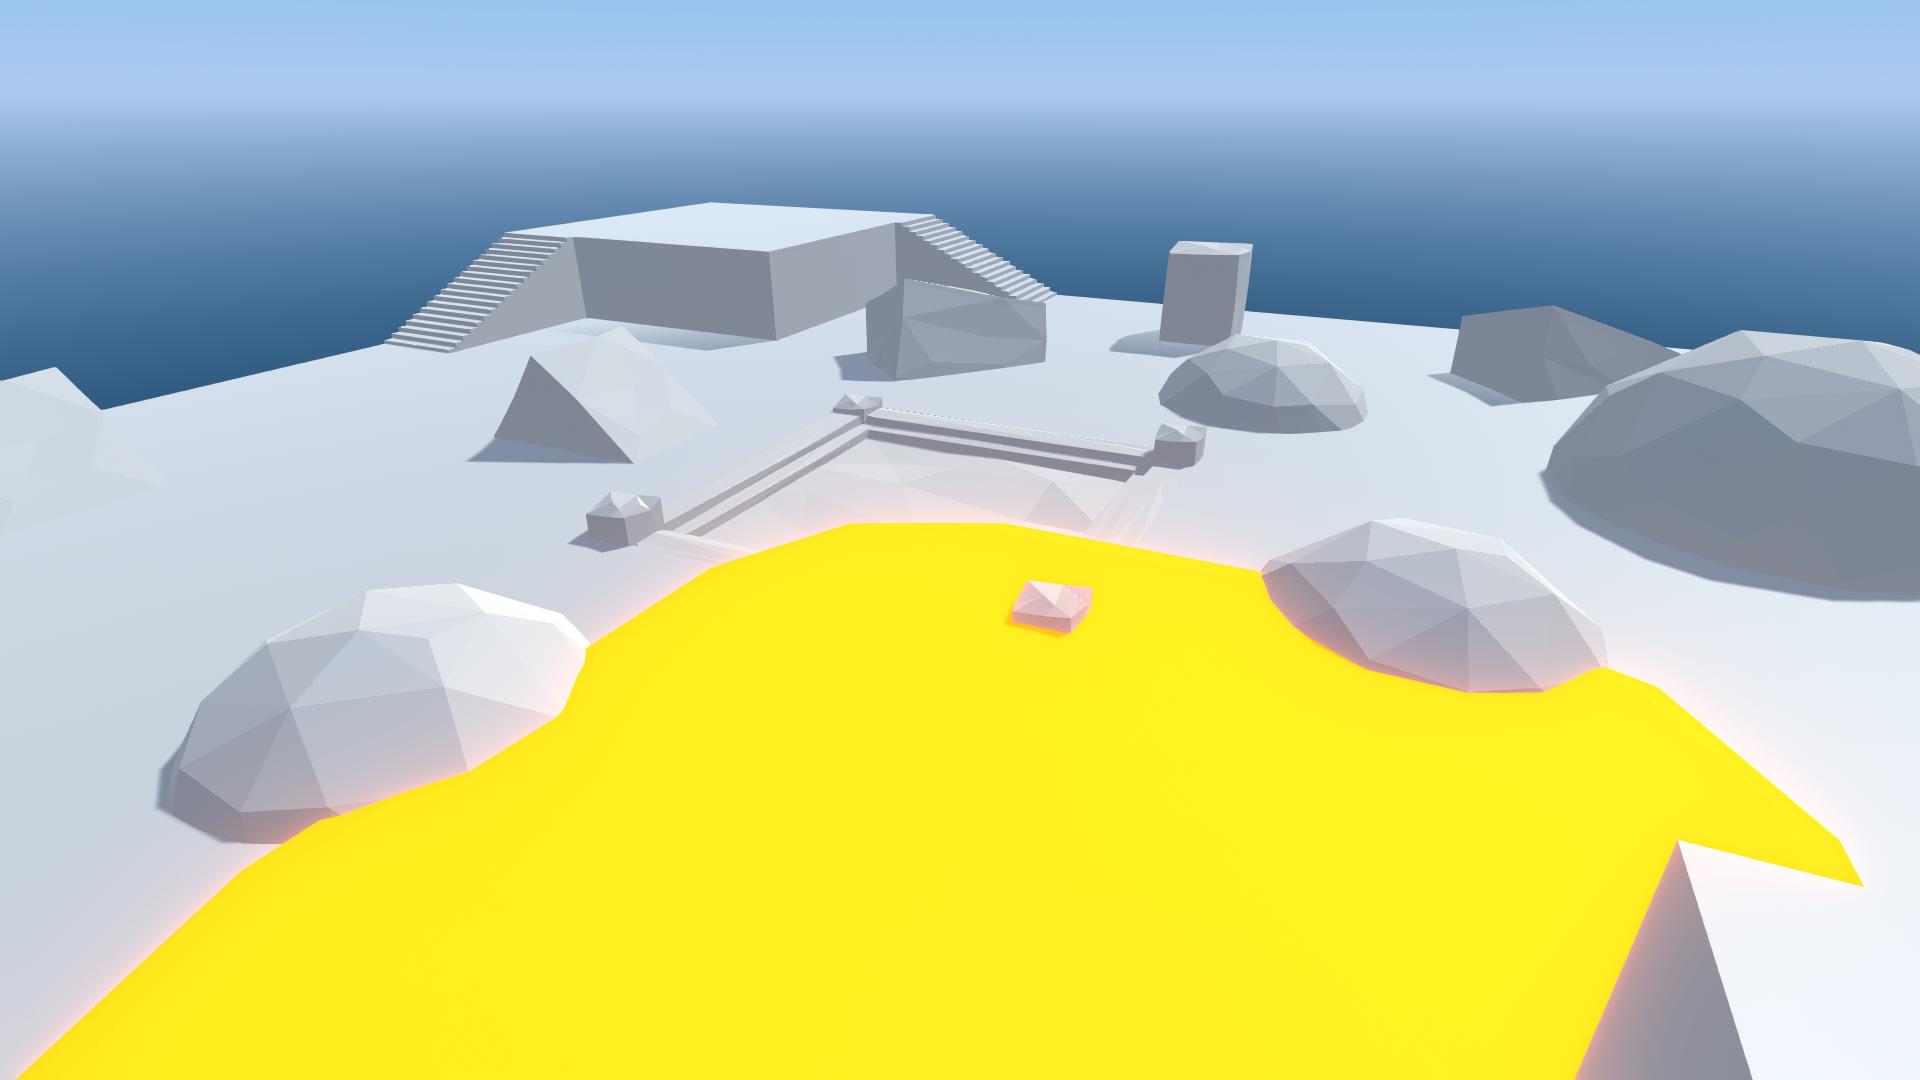
[[File:ScreenEffectExampleBloomOn.jpg|thumb|right|300px|Scene with bloom on.]] | |||
Makes light sources and brightly lit objects appear to glow. | |||
{| class="wikitable" | |||
|- | |||
! Property !! Description | |||
|- | |||
| '''Intensity''' || The strength of the bloom effect. How bright the bloom is. | |||
|- | |||
| '''Threshold''' || Pixels below this threshold value will not be given bloom. Raise this to lessen the effect. Should be set to around 1. | |||
|- | |||
| '''Soft Knee''' || Softens the bloom effect between bright and dim pixels. 1 is the softest. | |||
|- | |||
| '''Clamp''' || Clamps the brightness of pixels to restrict the bloom effect. | |||
|- | |||
| '''Diffusion''' || Controls the reach of the bloom effect from the bright pixels. | |||
|- | |||
| '''Anamorphic Ratio''' || Stretches the bloom effect horizontally or vertically. -1 is horizontal. 1 is vertical. | |||
|- | |||
| '''Color''' || Color tint of the bloom glow. | |||
|- | |||
|} | |||
<br clear="all"> | |||
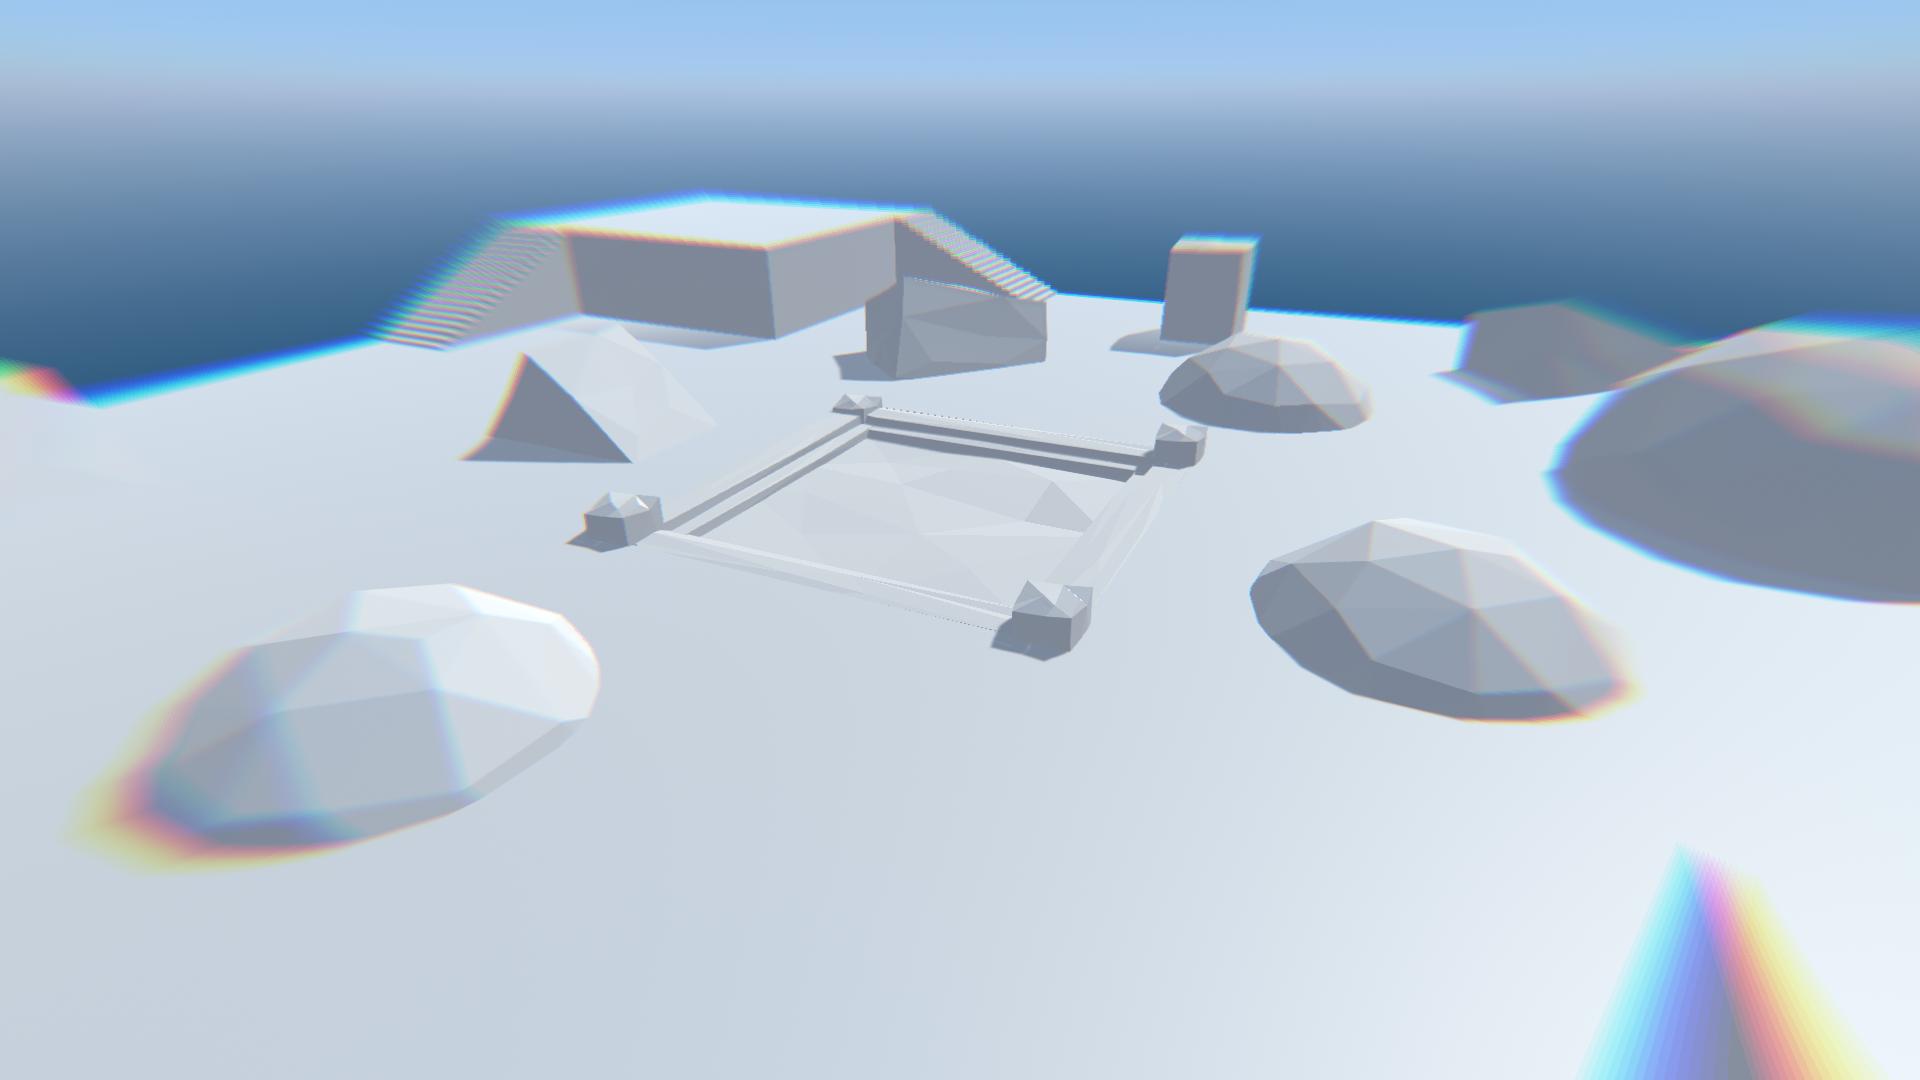
===Chromatic Aberration=== | |||
[[File:ScreenEffectExampleChromaticAberration.jpg|thumb|right|400px|Scene with chromatic aberration.]] | |||
Splits apart the red, green and blue channels of the image, especially towards the edges of the screen. | |||
{| class="wikitable" | |||
|- | |||
! Property !! Description | |||
|- | |||
| '''Intensity''' || The strength of the chromatic aberration effect. Higher values look more distorted. | |||
|- | |||
|} | |||
<br clear="all"> | |||
===Color Grading=== | |||
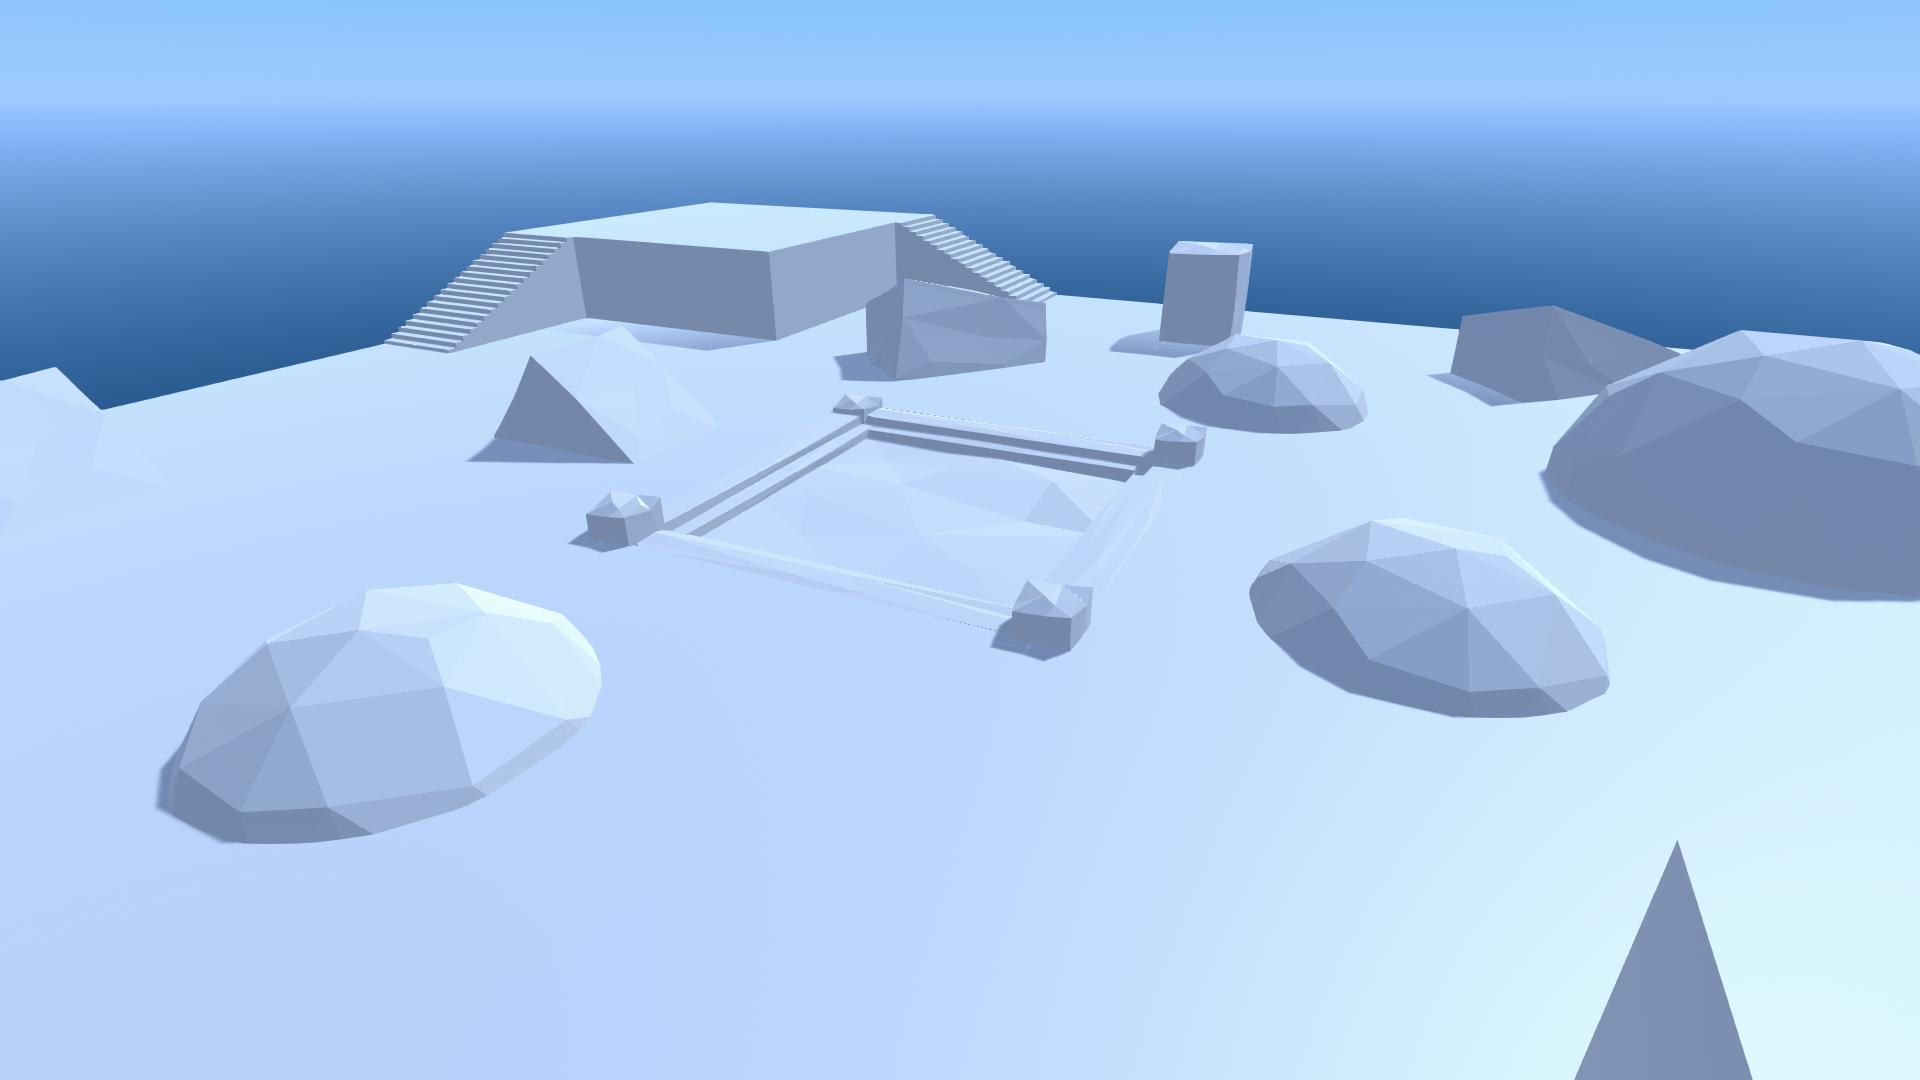
[[File:ScreenEffectExampleNoEffectColor.jpg|thumb|right|400px|Scene with no effects. Use for comparison with the images below.]] | |||
Adjust the colors of the screen. | |||
====White Balance ==== | |||
[[File:ScreenEffectExampleWhiteBalanceCoolTemperature.jpg|thumb|right|400px|White balance temperature decreased.]] | |||
{| class="wikitable" | |||
|- | |||
! Property !! Description | |||
|- | |||
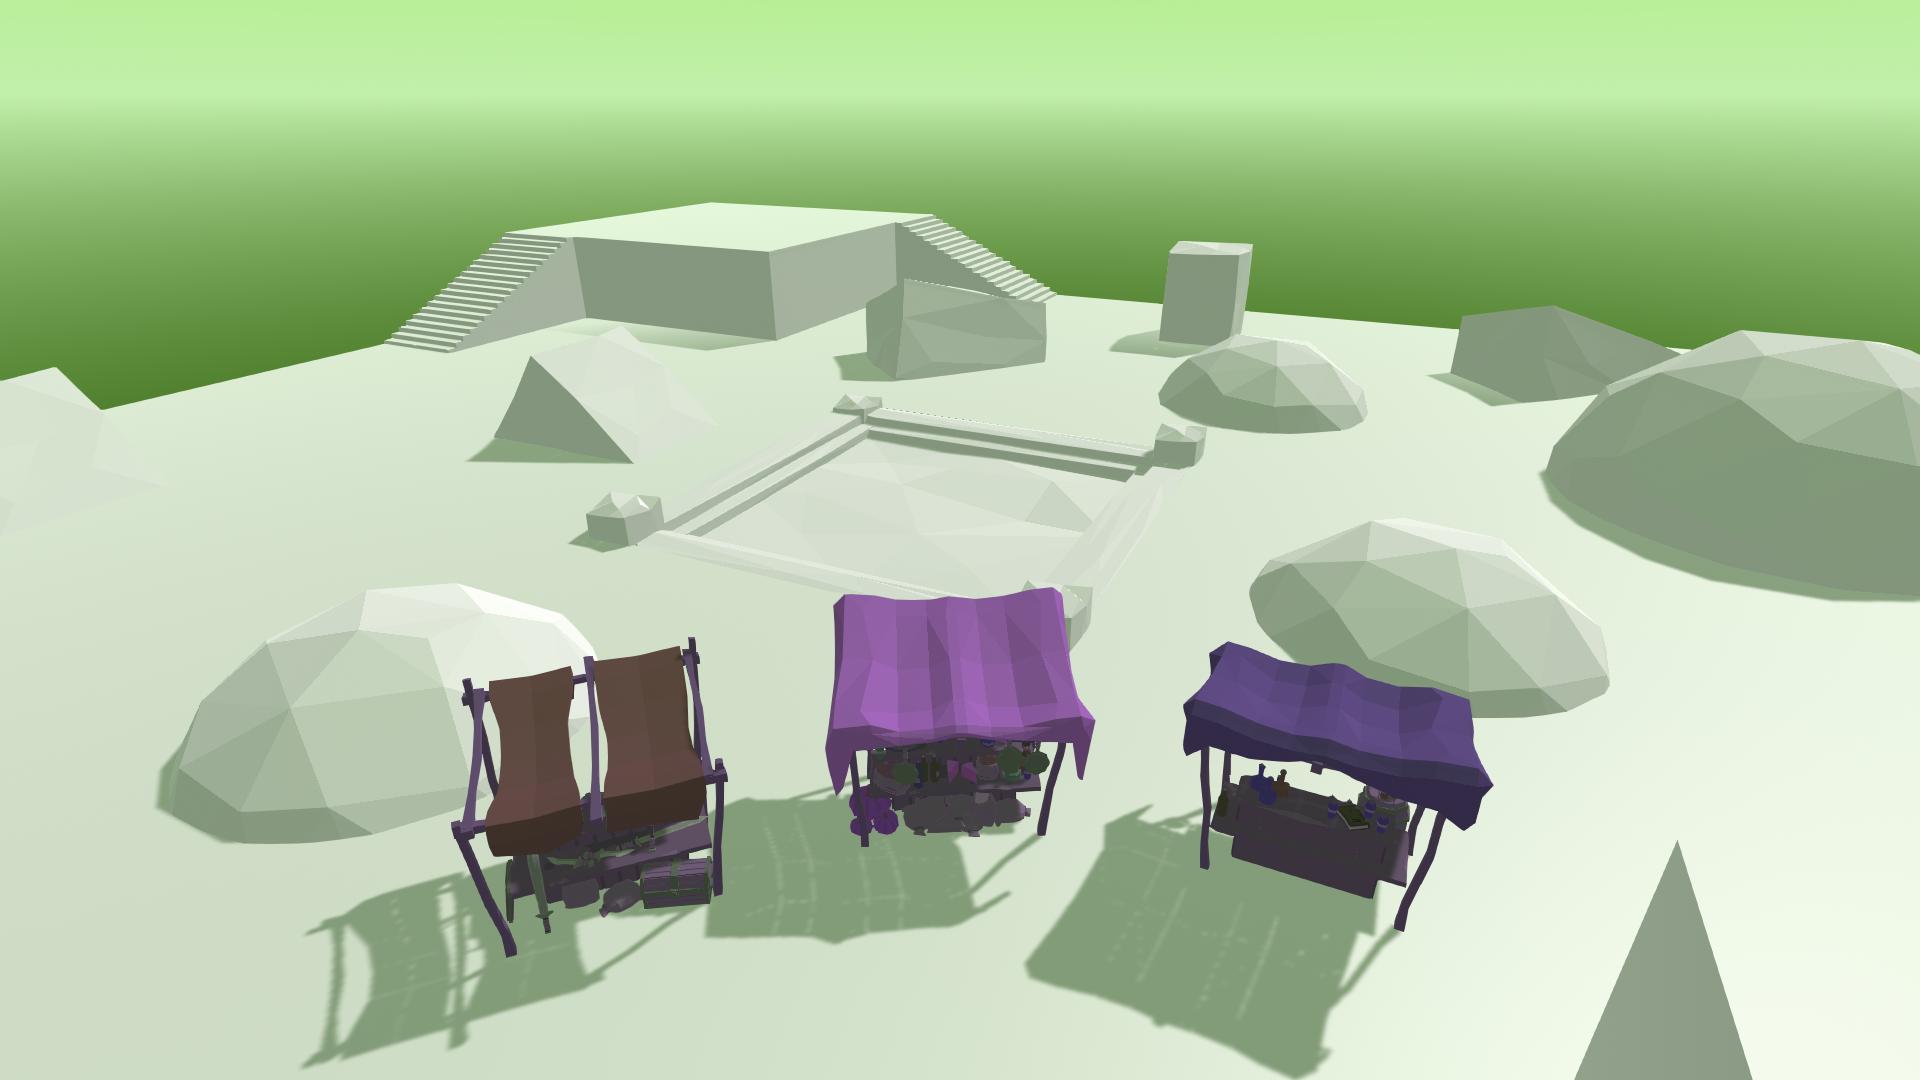
| '''Temperature''' || Set the white balance to a custom temperature. Higher values are warmer while lower values are cooler. | |||
|- | |||
| '''Tint''' || Tint the white balance. Green tint with lower values and magenta with higher values. | |||
|- | |||
|} | |||
<br clear="all"> | |||
====Tone==== | |||
[[File:ScreenEffectExampleTint.jpg|thumb|right|400px|Color filter to tint scene orange.]] | |||
[[File:ScreenEffectExampleHueShift.jpg|thumb|right|400px|Hue shift.]] | |||
[[File:ScreenEffectExampleSaturationDown.jpg|thumb|right|400px|Decreased saturation.]] | |||
[[File:ScreenEffectExampleBrightnessUp.jpg|thumb|right|400px|Increased brightness.]] | |||
[[File:ScreenEffectExampleContrastUp.jpg|thumb|right|400px|Increased contrast.]] | |||
{| class="wikitable" | |||
|- | |||
! Property !! Description | |||
|- | |||
| '''Color Filter''' || Tint the entire image with the given color. | |||
|- | |||
| '''Hue Shift''' || Slides the hue of all colors in the scene, recoloring all objects. | |||
|- | |||
| '''Saturation''' || Control the intensity of colors in the resulting view of the scene. | |||
|- | |||
| '''Brightness''' || Darken or lighten the view of the scene. | |||
|- | |||
| '''Contrast''' || Emphasise the differences in color and value of objects in the scene. | |||
|- | |||
|} | |||
<br clear="all"> | |||
====Channel Mixer ==== | |||
This section adjusts the influence of each input color channel on the final view of the scene. | |||
E.g. Selecting Red, and increasing the values of the "Green" field up from 0 will tint all green areas of the scene towards red. | |||
{| class="wikitable" | |||
|- | |||
! Property !! Description | |||
|- | |||
| '''Red, Green and Blue buttons''' || Which color channel to adjust. | |||
|- | |||
| '''Red''' || Increase the contribution of red to the chosen channel. | |||
|- | |||
| '''Green''' || Increase the contribution of green to the chosen channel. | |||
|- | |||
| '''Blue''' || Increase the contribution of blue to the chosen channel. | |||
|- | |||
|} | |||
<br clear="all"> | |||
===Depth Of Field=== | |||
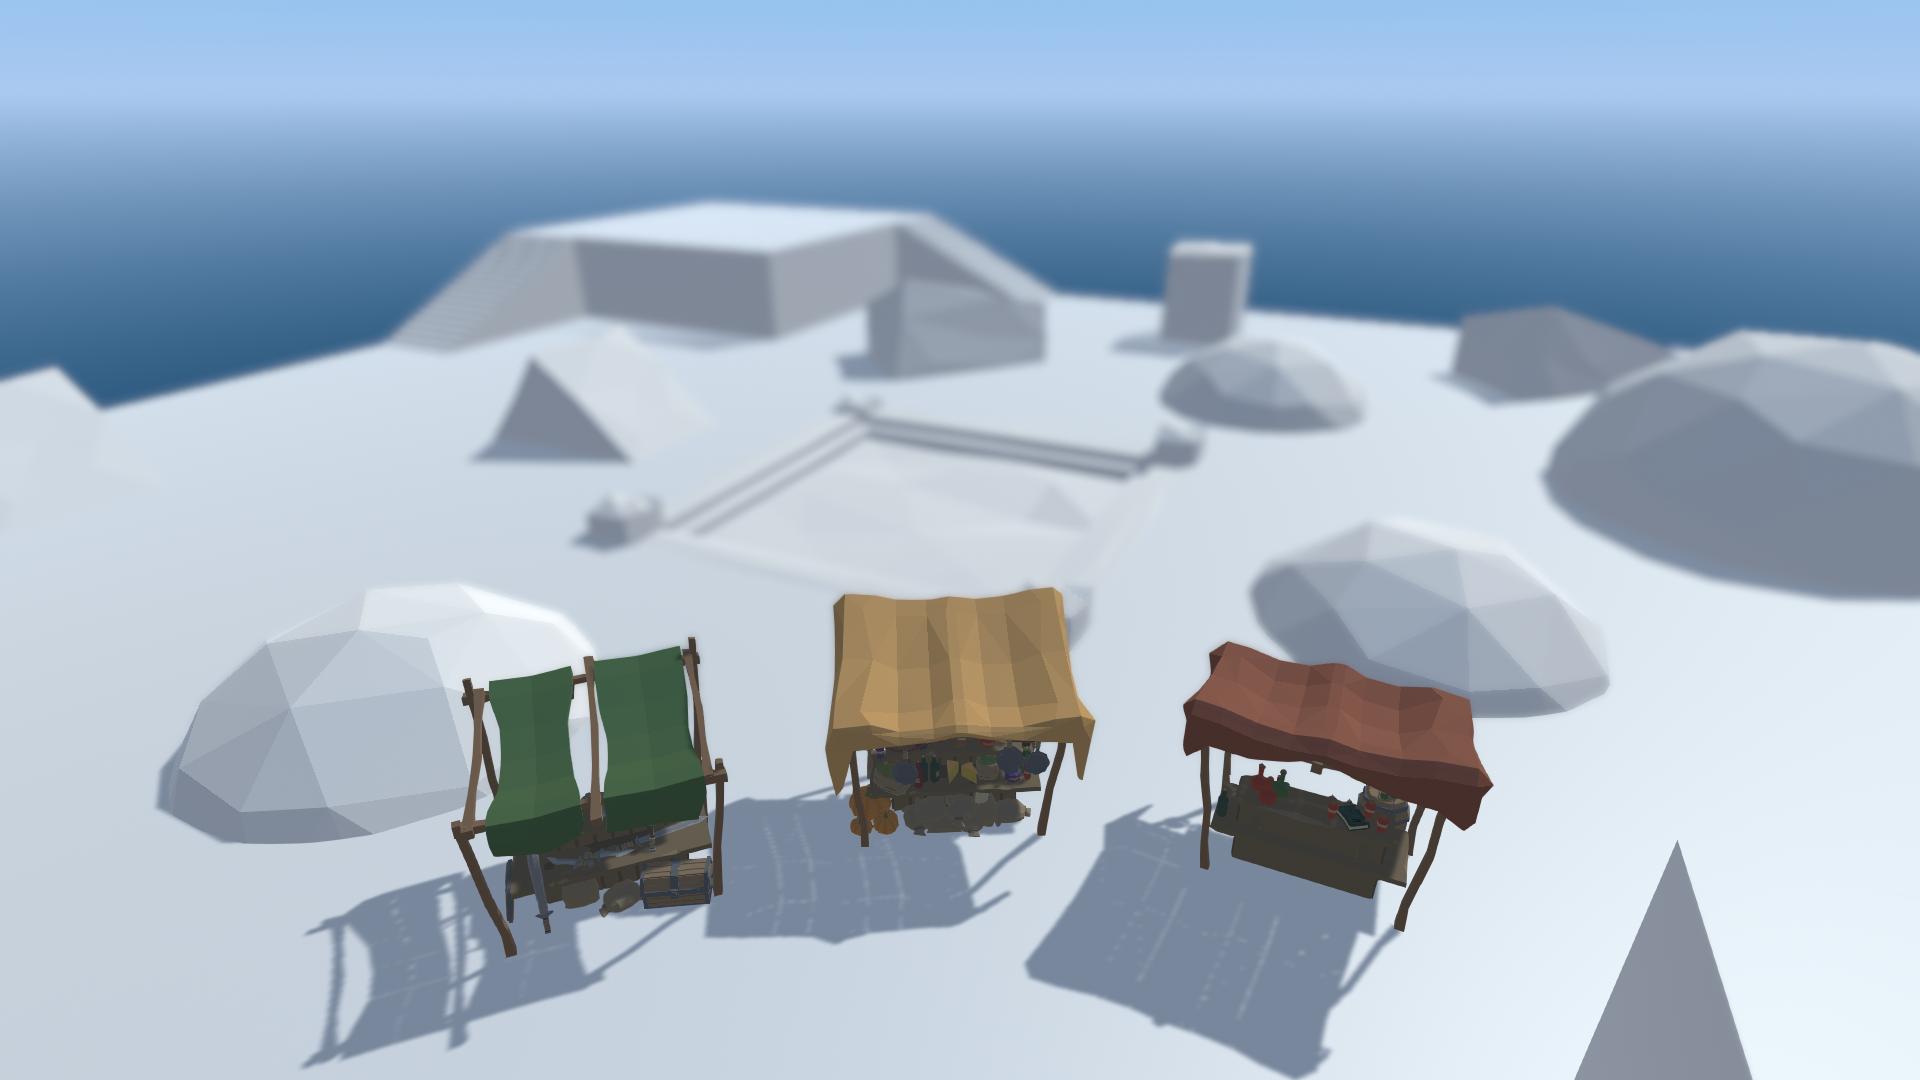
[[File:ScreenEffectExampleDOF.jpg|thumb|right|400px|Depth of field effect.]] | |||
Depth of field simulates a camera's focus effect, where the camera has a focal plane and anything much closer or much farther will be out of focus. | |||
{| class="wikitable" | |||
|- | |||
! Property !! Description | |||
|- | |||
| '''Focus Distance''' || The distance to the focus plane. | |||
|- | |||
| '''Aperture''' || The ratio of the aperture, or the f-stop, of the simulated camera. Smaller values will focus closer to the camera. | |||
|- | |||
| '''Focal Length''' || The distance between the simulated lens and film. Larger values result in a shallower depth of field. | |||
|- | |||
| '''Max Blur Size''' || The maximum size of the blur effect placed on out-of-focus objects. Increasing this above medium may harm performance on slower computers. | |||
|- | |||
|} | |||
<br clear="all"> | |||
===Grain=== | |||
[[File:ScreenEffectExampleGrain.jpg|thumb|right|400px|Grain effect.]] | |||
Creates a dynamic static effect across the screen. | |||
{| class="wikitable" | |||
|- | |||
! Property !! Description | |||
|- | |||
| '''Colored''' || Should the grain effect have random colors throughout, or should it be monochrome (black and white). | |||
|- | |||
| '''Intensity''' || How visible the grain effect is. | |||
|- | |||
| '''Size''' || The size of the grain effect particles. | |||
|- | |||
| '''Luminance Contribution''' || Alter the strength of noise based on the luminance of the scene. Lower values result in more noise in lighter areas. | |||
|- | |||
|} | |||
<br clear="all"> | |||
===Lens Distortion=== | |||
[[File:ScreenEffectExampleLensDistortion.jpg|thumb|right|400px|Lens distortion.]] | |||
Distorts the screen by squashing, stretching and bulging it. | |||
{| class="wikitable" | |||
|- | |||
! Property !! Description | |||
|- | |||
| '''Intensity''' || The strength of the effect. | |||
|- | |||
| '''X Multiplier''' || The strength of the effect horizontally. | |||
|- | |||
| '''Y Multiplier''' || The strength of the effect vertically. | |||
|- | |||
| '''Center X''' || Offset the effect horizontally. | |||
|- | |||
| '''Center Y''' || Offset the effect vertically. | |||
|- | |||
| '''Scale''' || Zoom the effect in or out | |||
|- | |||
|} | |||
<br clear="all"> | |||
===Vignette=== | |||
[[File:ScreenEffectExampleVignette.jpg|thumb|right|400px|Vignette effect.]] | |||
{| class="wikitable" | |||
|- | |||
! Property !! Description | |||
|- | |||
| '''Color''' || The Vignette color. | |||
|- | |||
| '''Center''' || Center of the vignette effect. | |||
|- | |||
| '''Intensity''' || The strength of the effect. Controls how far into the screen the vignette reaches. | |||
|- | |||
| '''Smoothness''' || Blurs the edges of the vignette. A value of 0 creates a crisp edge. | |||
|- | |||
| '''Roundness''' || How square or round the vignette is. Low values are closer to a square, while a value of 1 is a perfect oval. | |||
|- | |||
| '''Rounded''' || If the effect should have equal width and height. When on the vignette will form a circle, rather than an oval stretched across the screen. | |||
|- | |||
|} | |||
Latest revision as of 23:57, 15 December 2022
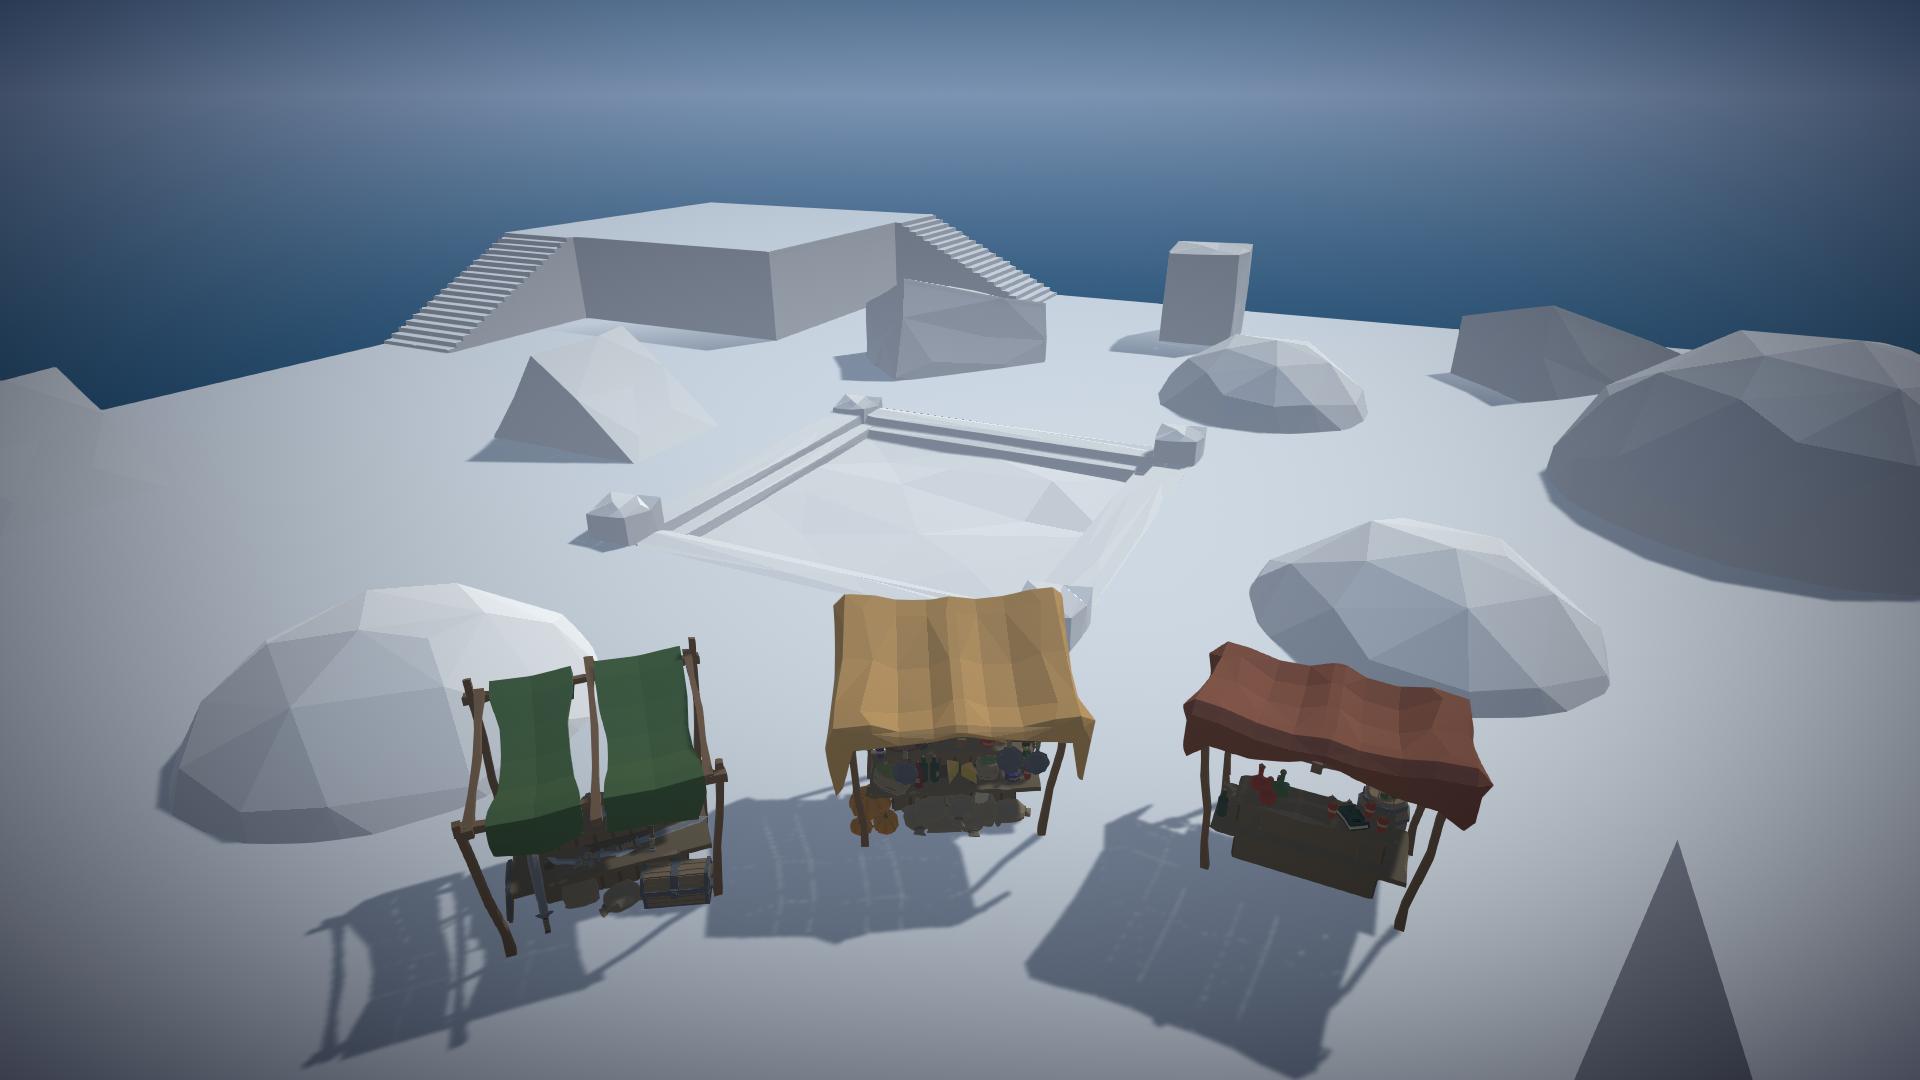
Screen effects are post-processing effects applied to the camera's view of the scene.
There are some preset screen effects built-in, but since these effects are largely up to user preference, mod creators are encouraged to experiment with the various effects and create a custom set of screen effects, or just use the default.
Ambient Occlusion
Adds a shadow/shading in corners and inner edges where objects meet.
| Property | Description |
|---|---|
| Mode | The type of ambient occlusion. Different modes give slightly different results visually. |
| Radius (Scalable Ambient Obscurance only) | Controls the extent of the darkening effect. Higher values spread the effect further. |
| Thickness Modifier (Multi Scale Volumetric Obscurance only) | The thickness or spread of the shading effect. |
| Intensity | The strength of the ambient occlusion shading effect. |
| Color | The color of the shading effect. |
| Ambient Only | Makes the shading effect only affect ambient lighting. When disabled the effect is much more noticeable. |
Bloom
Makes light sources and brightly lit objects appear to glow.
| Property | Description |
|---|---|
| Intensity | The strength of the bloom effect. How bright the bloom is. |
| Threshold | Pixels below this threshold value will not be given bloom. Raise this to lessen the effect. Should be set to around 1. |
| Soft Knee | Softens the bloom effect between bright and dim pixels. 1 is the softest. |
| Clamp | Clamps the brightness of pixels to restrict the bloom effect. |
| Diffusion | Controls the reach of the bloom effect from the bright pixels. |
| Anamorphic Ratio | Stretches the bloom effect horizontally or vertically. -1 is horizontal. 1 is vertical. |
| Color | Color tint of the bloom glow. |
Chromatic Aberration
Splits apart the red, green and blue channels of the image, especially towards the edges of the screen.
| Property | Description |
|---|---|
| Intensity | The strength of the chromatic aberration effect. Higher values look more distorted. |
Color Grading
Adjust the colors of the screen.
White Balance
| Property | Description |
|---|---|
| Temperature | Set the white balance to a custom temperature. Higher values are warmer while lower values are cooler. |
| Tint | Tint the white balance. Green tint with lower values and magenta with higher values. |
Tone
| Property | Description |
|---|---|
| Color Filter | Tint the entire image with the given color. |
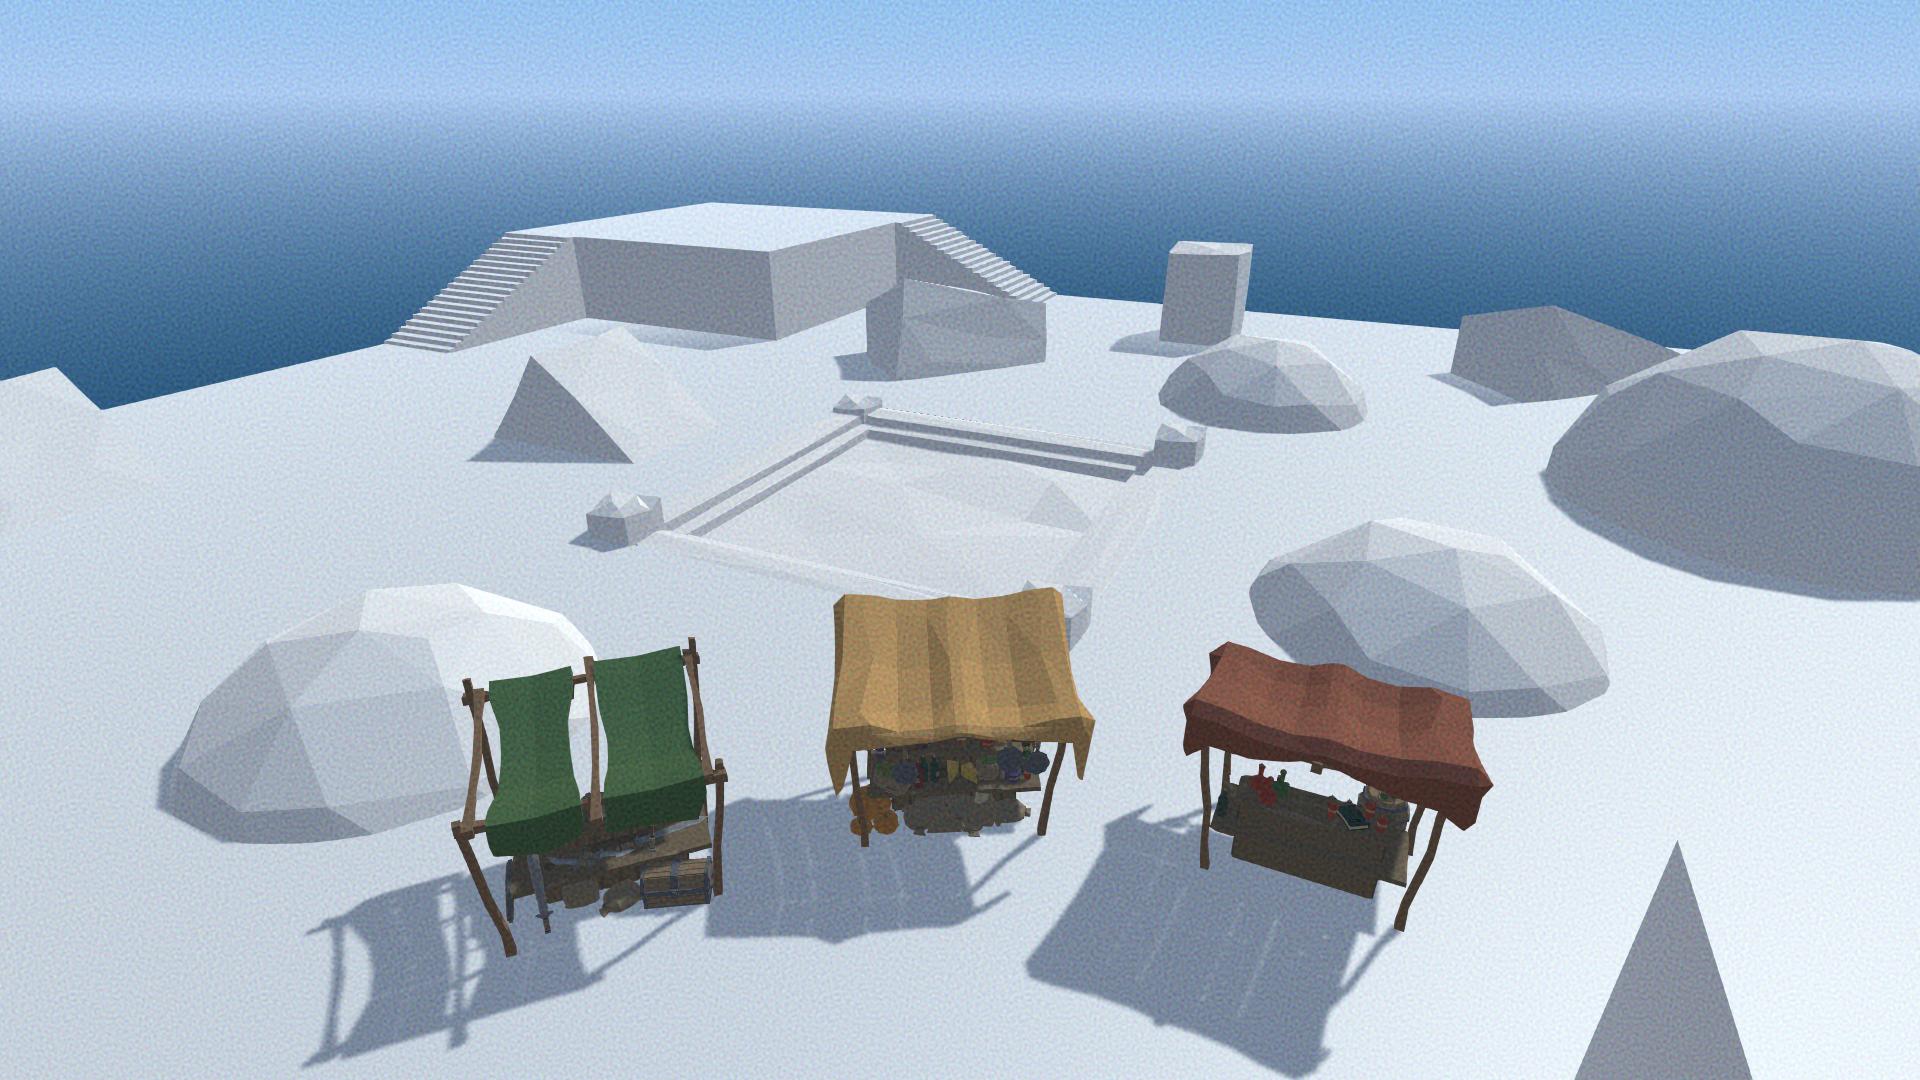
| Hue Shift | Slides the hue of all colors in the scene, recoloring all objects. |
| Saturation | Control the intensity of colors in the resulting view of the scene. |
| Brightness | Darken or lighten the view of the scene. |
| Contrast | Emphasise the differences in color and value of objects in the scene. |
Channel Mixer
This section adjusts the influence of each input color channel on the final view of the scene.
E.g. Selecting Red, and increasing the values of the "Green" field up from 0 will tint all green areas of the scene towards red.
| Property | Description |
|---|---|
| Red, Green and Blue buttons | Which color channel to adjust. |
| Red | Increase the contribution of red to the chosen channel. |
| Green | Increase the contribution of green to the chosen channel. |
| Blue | Increase the contribution of blue to the chosen channel. |
Depth Of Field
Depth of field simulates a camera's focus effect, where the camera has a focal plane and anything much closer or much farther will be out of focus.
| Property | Description |
|---|---|
| Focus Distance | The distance to the focus plane. |
| Aperture | The ratio of the aperture, or the f-stop, of the simulated camera. Smaller values will focus closer to the camera. |
| Focal Length | The distance between the simulated lens and film. Larger values result in a shallower depth of field. |
| Max Blur Size | The maximum size of the blur effect placed on out-of-focus objects. Increasing this above medium may harm performance on slower computers. |
Grain
Creates a dynamic static effect across the screen.
| Property | Description |
|---|---|
| Colored | Should the grain effect have random colors throughout, or should it be monochrome (black and white). |
| Intensity | How visible the grain effect is. |
| Size | The size of the grain effect particles. |
| Luminance Contribution | Alter the strength of noise based on the luminance of the scene. Lower values result in more noise in lighter areas. |
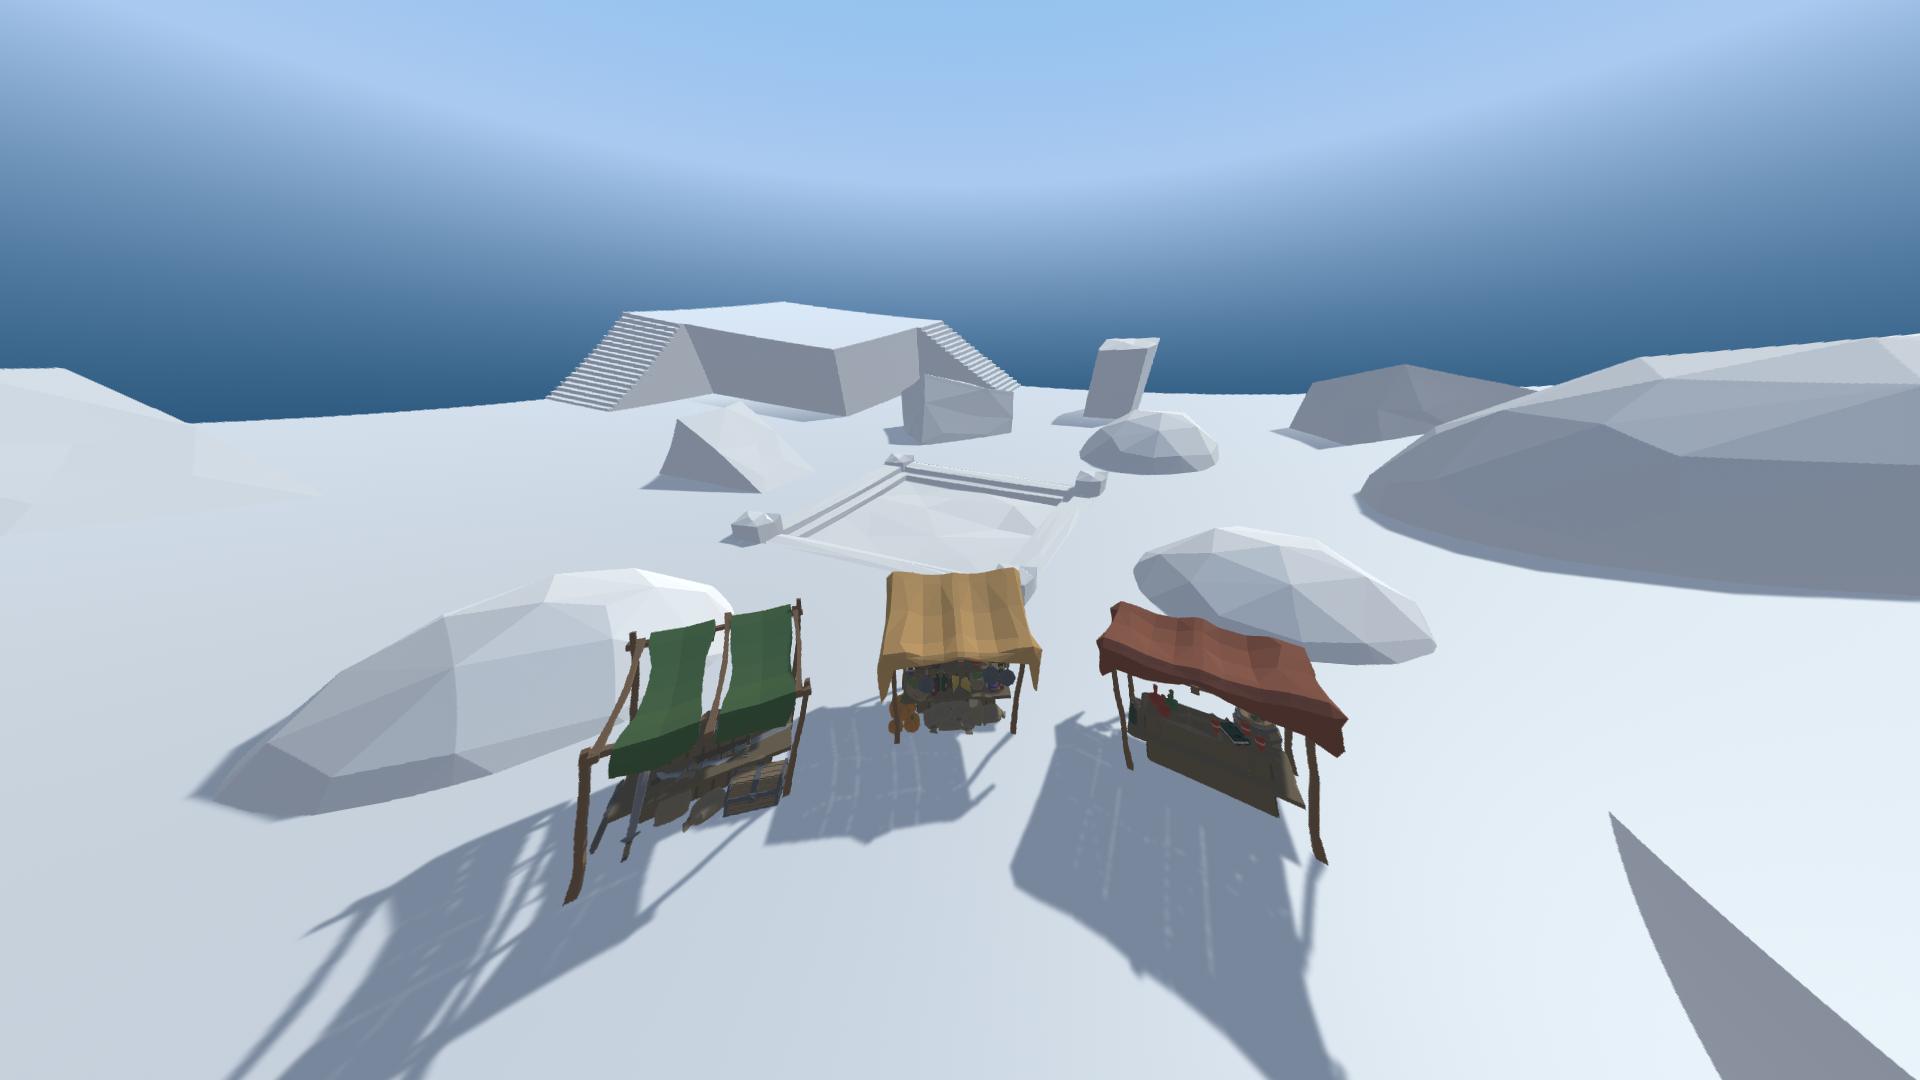
Lens Distortion
Distorts the screen by squashing, stretching and bulging it.
| Property | Description |
|---|---|
| Intensity | The strength of the effect. |
| X Multiplier | The strength of the effect horizontally. |
| Y Multiplier | The strength of the effect vertically. |
| Center X | Offset the effect horizontally. |
| Center Y | Offset the effect vertically. |
| Scale | Zoom the effect in or out |
Vignette
| Property | Description |
|---|---|
| Color | The Vignette color. |
| Center | Center of the vignette effect. |
| Intensity | The strength of the effect. Controls how far into the screen the vignette reaches. |
| Smoothness | Blurs the edges of the vignette. A value of 0 creates a crisp edge. |
| Roundness | How square or round the vignette is. Low values are closer to a square, while a value of 1 is a perfect oval. |
| Rounded | If the effect should have equal width and height. When on the vignette will form a circle, rather than an oval stretched across the screen. |
