Lighting Settings: Difference between revisions
m (Added intro text) |
m (Added sentence describing how to access the lighting settings) |
||
| (One intermediate revision by the same user not shown) | |||
| Line 1: | Line 1: | ||
Lighting is an important aspect of mod creation. It can greatly influence the look and feel of a mod. You | Lighting is an important aspect of mod creation. It can greatly influence the look and feel of a mod. You can either use one of the built-in presets, or create your own unique custom lighting preset. | ||
Lighting settings can be accessed by clicking on the yellow '''Minigame Settings/BoardSettings''' object at the top of the [[Hierarchy Window]], then expanding the '''Lighting Settings''' section of the settings that appear in the [[Inspector Window]]. | |||
== Built-in Lighting Templates == | == Built-in Lighting Templates == | ||
The mod editor comes with 13 built-in lighting templates. These show off the different options available with the lighting settings. If none of them | The mod editor comes with 13 built-in lighting templates. These show off the different options available with the lighting settings. If none of them suits your mod you can create your own [[Lighting Settings#Custom Lighting|custom lighting]] | ||
<gallery mode="packed"> | <gallery mode="packed"> | ||
File:LightingExampleDay.jpg|Day | File:LightingExampleDay.jpg|Day | ||
| Line 20: | Line 22: | ||
== Custom Lighting == | == Custom Lighting == | ||
Custom lighting allows you to set all of the values of the different lighting settings available. Enable custom lighting by setting the ''Lighting Preset'' to "Custom". You can start changing the settings and visually see the scene view change. If you'd like to create custom lighting that uses one of the built-in | Custom lighting allows you to set all of the values of the different lighting settings available. Enable custom lighting by setting the ''Lighting Preset'' to "Custom". You can start changing the settings and visually see the scene view change. If you'd like to create custom lighting that uses one of the built-in presets as a starting point, use the "Import Built-in Lighting Profile" foldout to select a built-in preset and load it into the custom lighting settings. | ||
===Skybox=== | ===Skybox=== | ||
| Line 37: | Line 39: | ||
| '''Ground Color''' || The color of the sky when looking straight down. This color blends up into the horizon. | | '''Ground Color''' || The color of the sky when looking straight down. This color blends up into the horizon. | ||
|- | |- | ||
| '''Halo Color''' || The color of the thin band of sky around the horizon. | | '''Halo Color''' || The color of the thin band of the sky around the horizon. | ||
|- | |- | ||
| '''Halo Exponent''' || Controls the blending/falloff of the ''Halo Color''. Higher values will make this | | '''Halo Exponent''' || Controls the blending/falloff of the ''Halo Color''. Higher values will make this blend faster with the halo color in a tight band. Low values blend smoother and spread the color across more of the skybox. | ||
|- | |- | ||
| '''Halo Strength''' || How strong the ''Halo Color'' is when blended into the sky. Lower values will make it darker, moving towards black. Higher values will move it towards white. A value of 1 retains the full halo color. | | '''Halo Strength''' || How strong the ''Halo Color'' is when blended into the sky. Lower values will make it darker, moving towards black. Higher values will move it towards white. A value of 1 retains the full halo color. | ||
| Line 51: | Line 53: | ||
! Property !! Description | ! Property !! Description | ||
|- | |- | ||
| '''Use Global Light''' || Should a global light (sun) be used in the mod. Disabling the global light may be useful if you want to do your own lighting using directional [[Light Component]]s, or you don't want any directional lighting in the scene. | | '''Use Global Light''' || Should a global light (sun) be used in the mod. Disabling the global light may be useful if you want to do your own lighting using directional [[Light Component]]s, or if you don't want any directional lighting in the scene. | ||
|- | |- | ||
| '''Sunlight Direction''' || The X,Y,Z Euler angles | | '''Sunlight Direction''' || The X,Y,Z Euler angles that describe the rotation of the light. A value of 0,0,0 will point the light towards the positive Z axis, or forward in the world. | ||
|- | |- | ||
| '''Sunlight Color''' || The color of the global directional light. | | '''Sunlight Color''' || The color of the global directional light. | ||
| Line 61: | Line 63: | ||
| '''Shadow Strength''' || The strength or darkness of the shadows. 1 is completely dark while 0 is no visible shadow. | | '''Shadow Strength''' || The strength or darkness of the shadows. 1 is completely dark while 0 is no visible shadow. | ||
|- | |- | ||
| '''Sun Shadow Mode''' || What type of shadows the global directional light will use. Can be None, Soft or Hard. Soft and hard changes the edges of shadows to be either blurred | | '''Sun Shadow Mode''' || What type of shadows the global directional light will use. Can be None, Soft or Hard. Soft and hard changes the edges of shadows to be either blurred or sharp. | ||
|- | |- | ||
|} | |} | ||
| Line 103: | Line 105: | ||
| '''Secondary Cloud Speed''' || A value that increases the movement speed of the clouds. | | '''Secondary Cloud Speed''' || A value that increases the movement speed of the clouds. | ||
|- | |- | ||
| '''Cloud Intensity''' || The strength of the shadows. 1 is completely black shadow while 0 is no shadow. | | '''Cloud Intensity''' || The strength of the shadows. 1 is a completely black shadow while 0 is no shadow. | ||
|- | |- | ||
| '''Cloud Sparseness''' || How sparseness/denseness of the cloud shadows. Low values are very dense with mostly shadows, high values are very sparse with few shadows. | | '''Cloud Sparseness''' || How sparseness/denseness of the cloud shadows. Low values are very dense with mostly shadows, high values are very sparse with few shadows. | ||
| Line 112: | Line 114: | ||
===Fog=== | ===Fog=== | ||
Fog will fade the color of | Fog will fade the color of distant objects towards the fog color. It is best to match the fog color to the skybox color for a smooth transition between distant fog and sky. | ||
{| class="wikitable" | {| class="wikitable" | ||
|- | |- | ||
| Line 131: | Line 133: | ||
| style="padding-left: 2em;" | ''Exponential'' || The fog becomes more dense exponentially over distance. | | style="padding-left: 2em;" | ''Exponential'' || The fog becomes more dense exponentially over distance. | ||
|- | |- | ||
| style="padding-left: 2em;" | ''Exponential Squared'' || The fog becomes | | style="padding-left: 2em;" | ''Exponential Squared'' || The fog becomes denser by a squared exponential of the distance. | ||
|- | |- | ||
| style="padding-left: 4em;" |'''Fog Density''' || A value describing the density of the fog. Any values above ~0.1 will be very dense. Keep the values small (< 0.1), with smaller values resulting | | style="padding-left: 4em;" |'''Fog Density''' || A value describing the density of the fog. Any values above ~0.1 will be very dense. Keep the values small (< 0.1), with smaller values resulting in thinner fog up close. | ||
|- | |- | ||
|} | |} | ||
| Line 144: | Line 146: | ||
| '''Shadow Distance''' || The distance in units from the camera in which shadows will be drawn. Anything beyond this will not have shadows. | | '''Shadow Distance''' || The distance in units from the camera in which shadows will be drawn. Anything beyond this will not have shadows. | ||
|- | |- | ||
| '''Shadow Cascades''' || Controls the quality of shadows over distance. Four cascades will use higher quality shadows nearby and lower quality shadows at a distance. Zero will use a single quality of shadow for all distances, so close shadows may appear blurry/pixelated. Four cascades | | '''Shadow Cascades''' || Controls the quality of shadows over distance. Four cascades will use higher-quality shadows nearby and lower-quality shadows at a distance. Zero will use a single quality of shadow for all distances, so close shadows may appear blurry/pixelated. Four cascades are the most demanding on performance, while zero is the least. | ||
|- | |- | ||
|} | |} | ||
| Line 154: | Line 156: | ||
===Advanced=== | ===Advanced=== | ||
Saving a custom lighting profile saves it as a .json file. This file can be found inside ''C:\Users\<Your user name>\AppData\LocalLow\Rebuilt Games\Pummel Party\ModEditorCustomLightingProfiles''. The ''AppData'' folder is hidden on Windows, so you'll need to enable "Show Hidden Folders" in windows explorer to view it. Alternatively, you can access the folder by hitting "Windows Key + R" and entering ''%appdata%''. This will open /AppData/Roaming, from which you can go up a level then into /AppData/LocalLow/... | Saving a custom lighting profile saves it as a .json file. This file can be found inside ''C:\Users\<Your user name>\AppData\LocalLow\Rebuilt Games\Pummel Party\ModEditorCustomLightingProfiles''. The ''AppData'' folder is hidden on Windows, so you'll need to enable "Show Hidden Folders" in windows explorer to view it. Alternatively, you can access the folder by hitting "Windows Key + R" and entering ''%appdata%''. This will open /AppData/Roaming, from which you can go up a level and then into /AppData/LocalLow/... | ||
This saved lighting settings file can be shared with friends if you want to share a lighting profile. | This saved lighting settings file can be shared with friends if you want to share a lighting profile. | ||
Latest revision as of 21:14, 28 May 2023
Lighting is an important aspect of mod creation. It can greatly influence the look and feel of a mod. You can either use one of the built-in presets, or create your own unique custom lighting preset.
Lighting settings can be accessed by clicking on the yellow Minigame Settings/BoardSettings object at the top of the Hierarchy Window, then expanding the Lighting Settings section of the settings that appear in the Inspector Window.
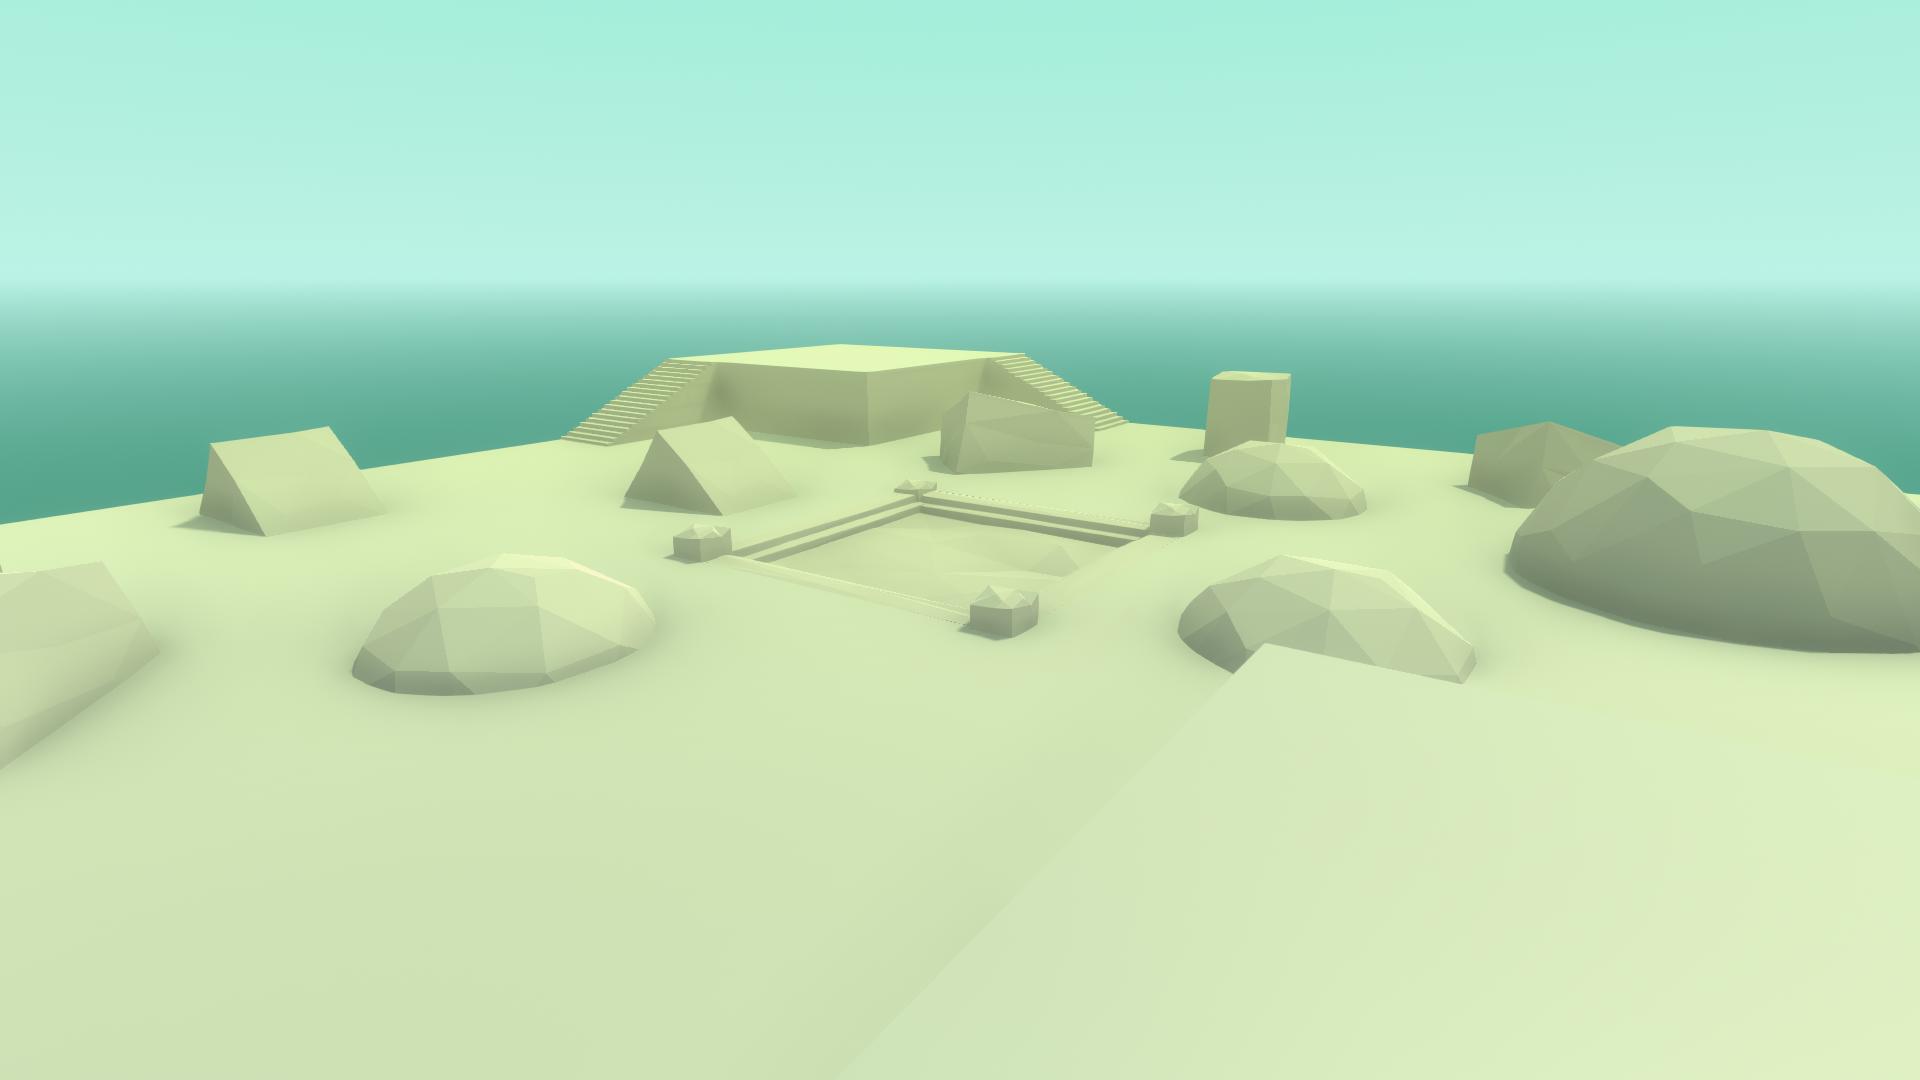
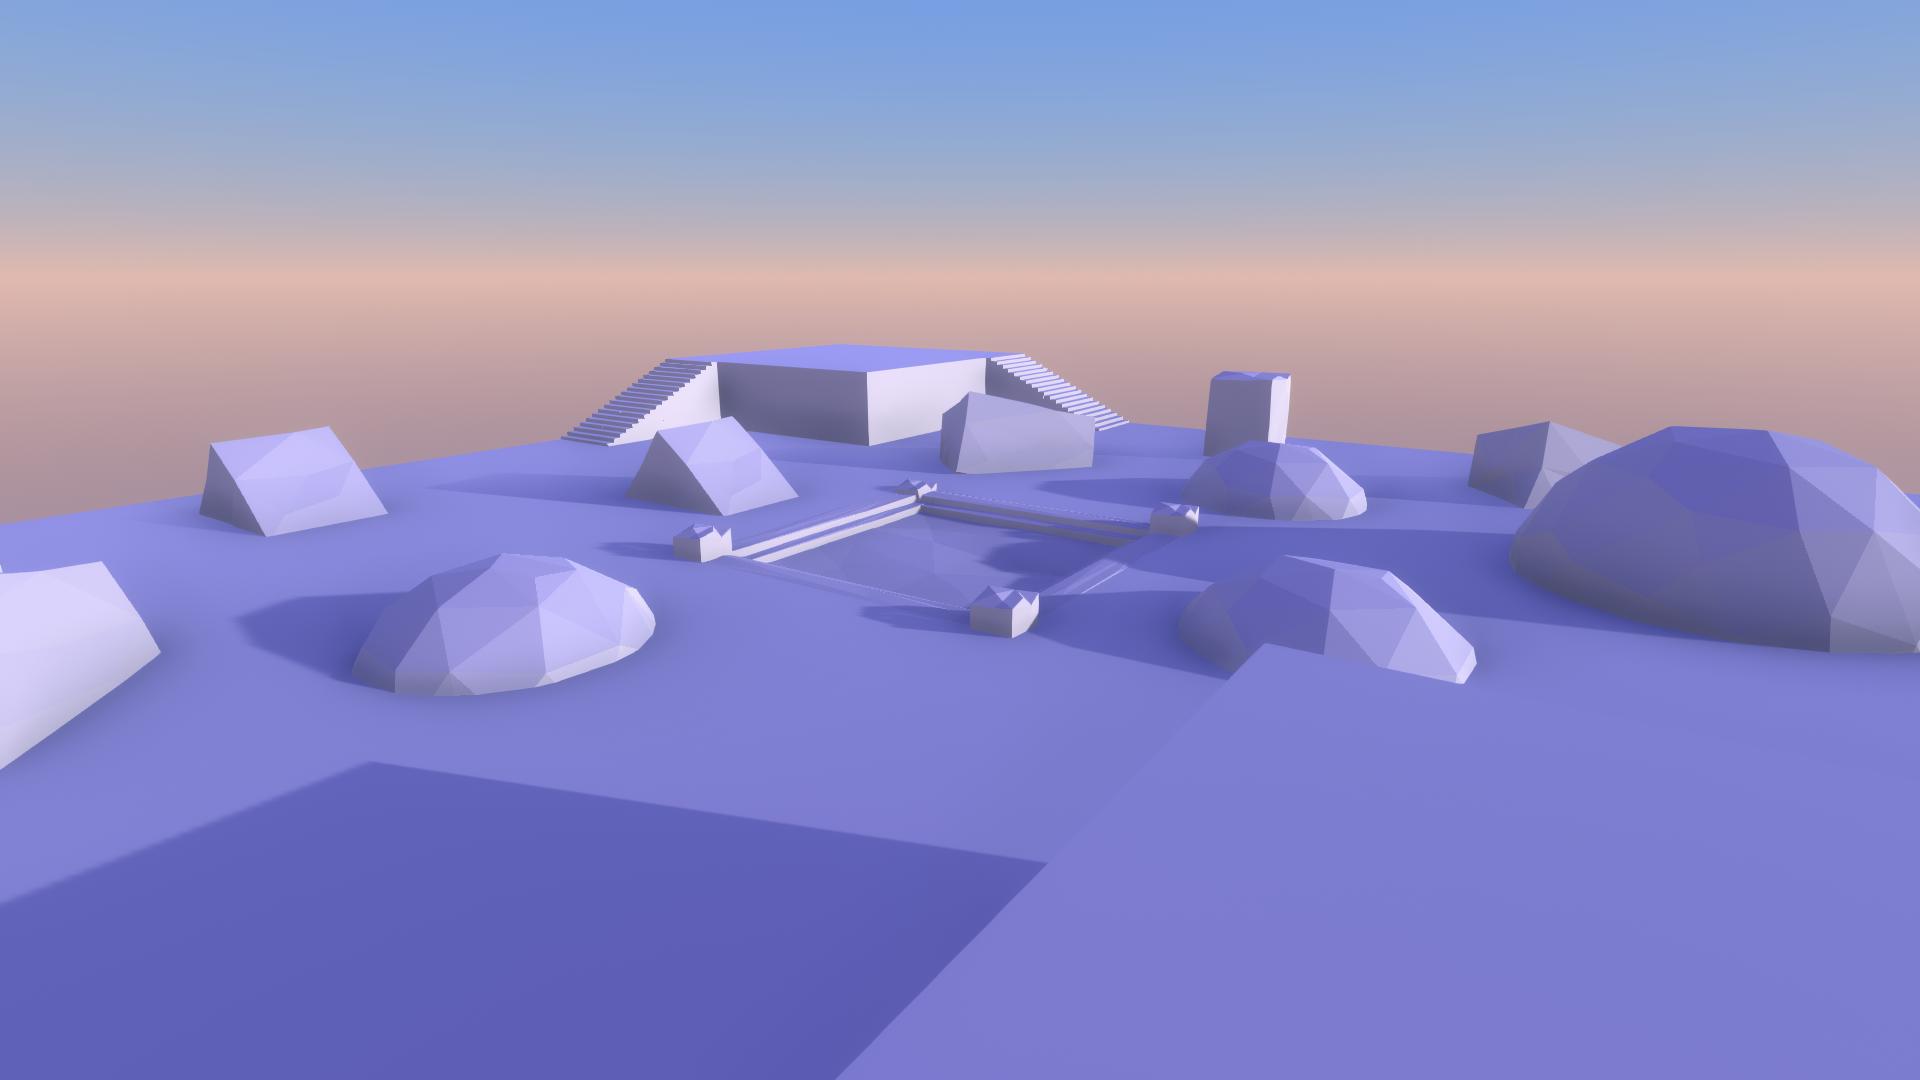
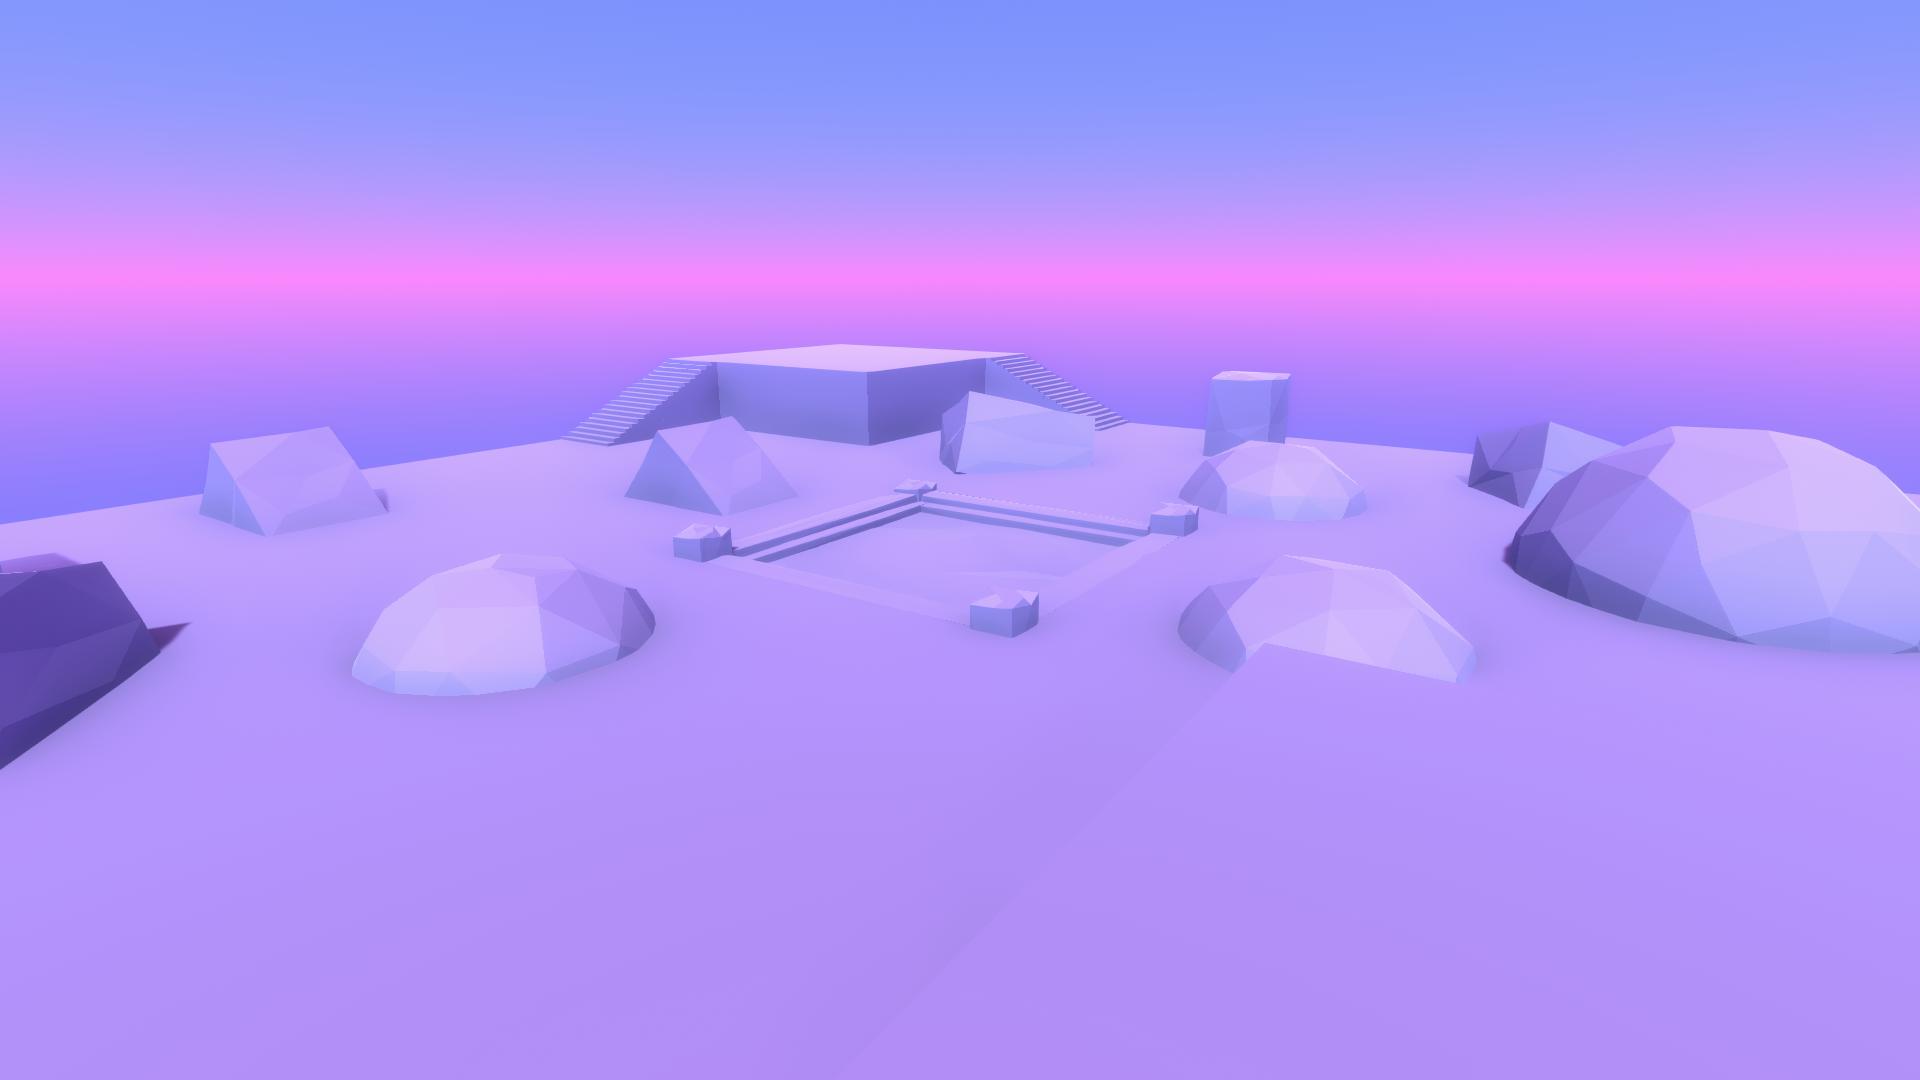
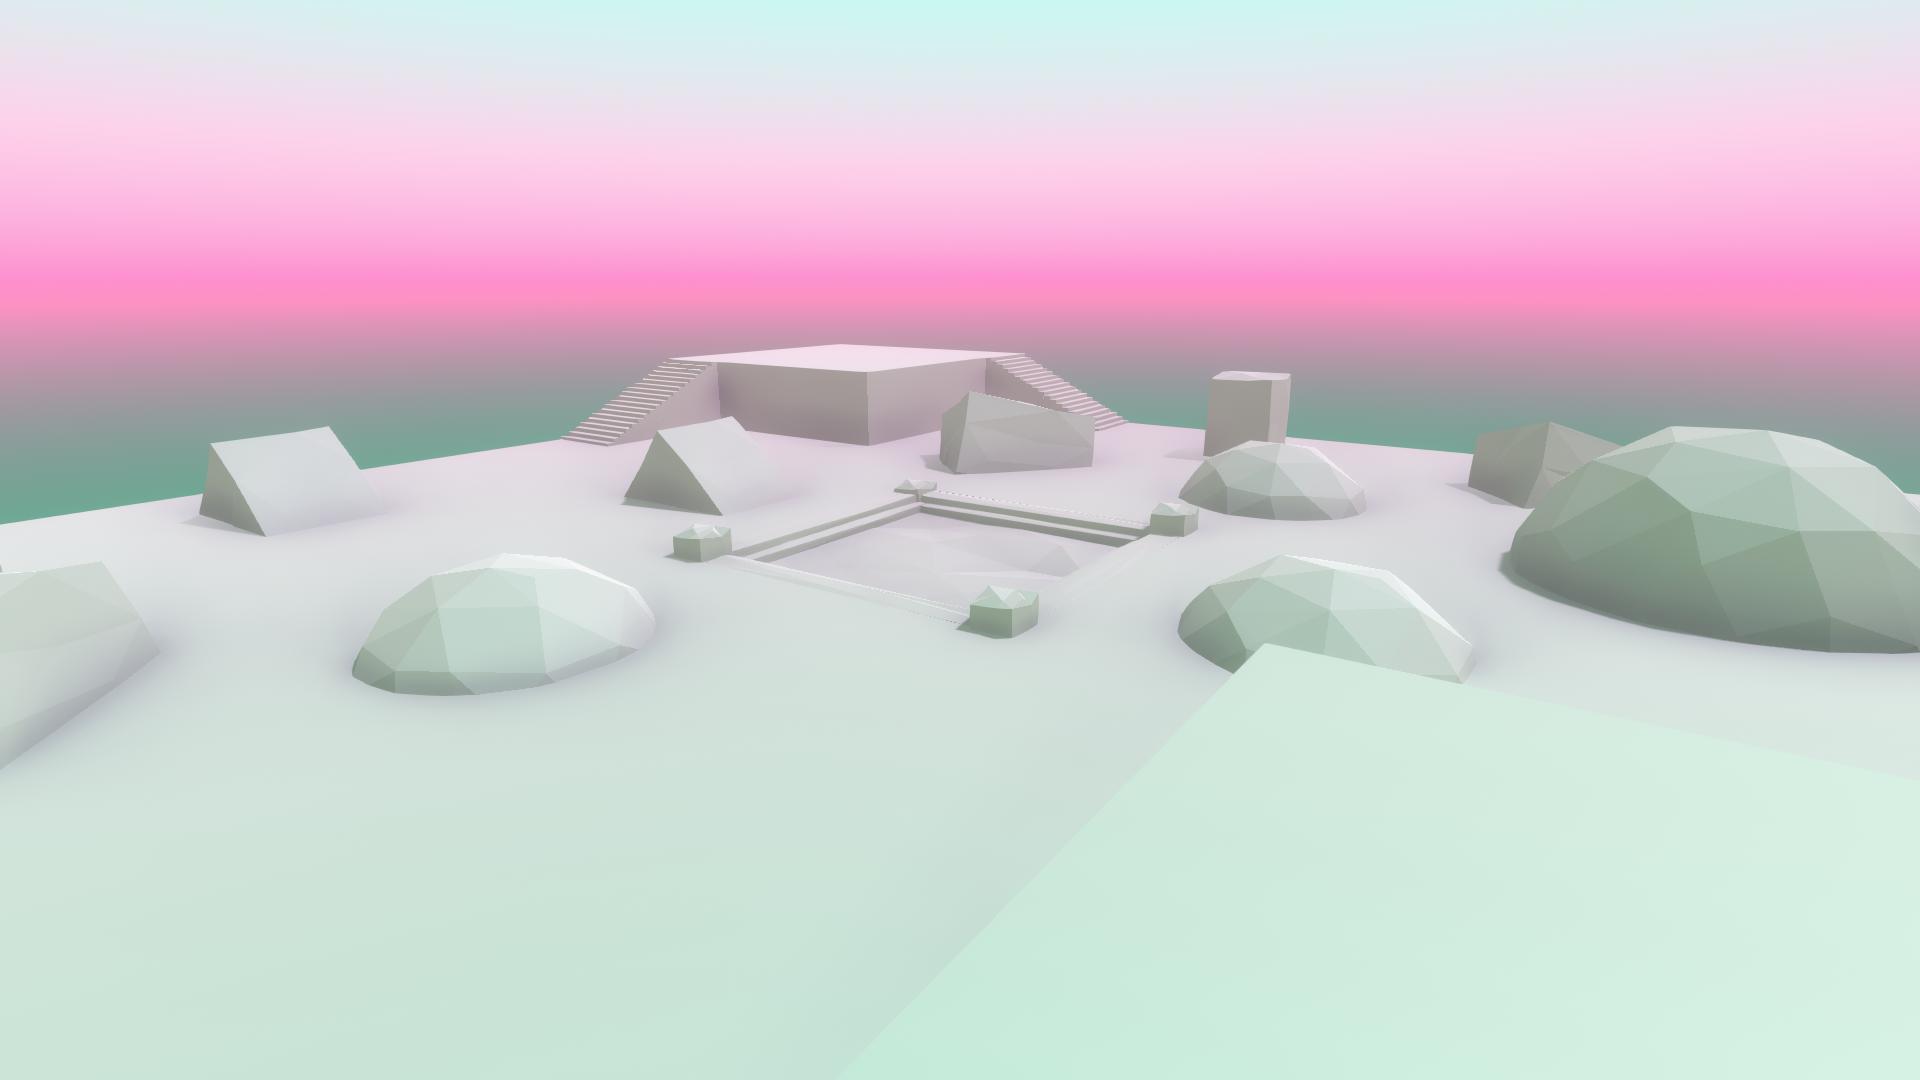
Built-in Lighting Templates
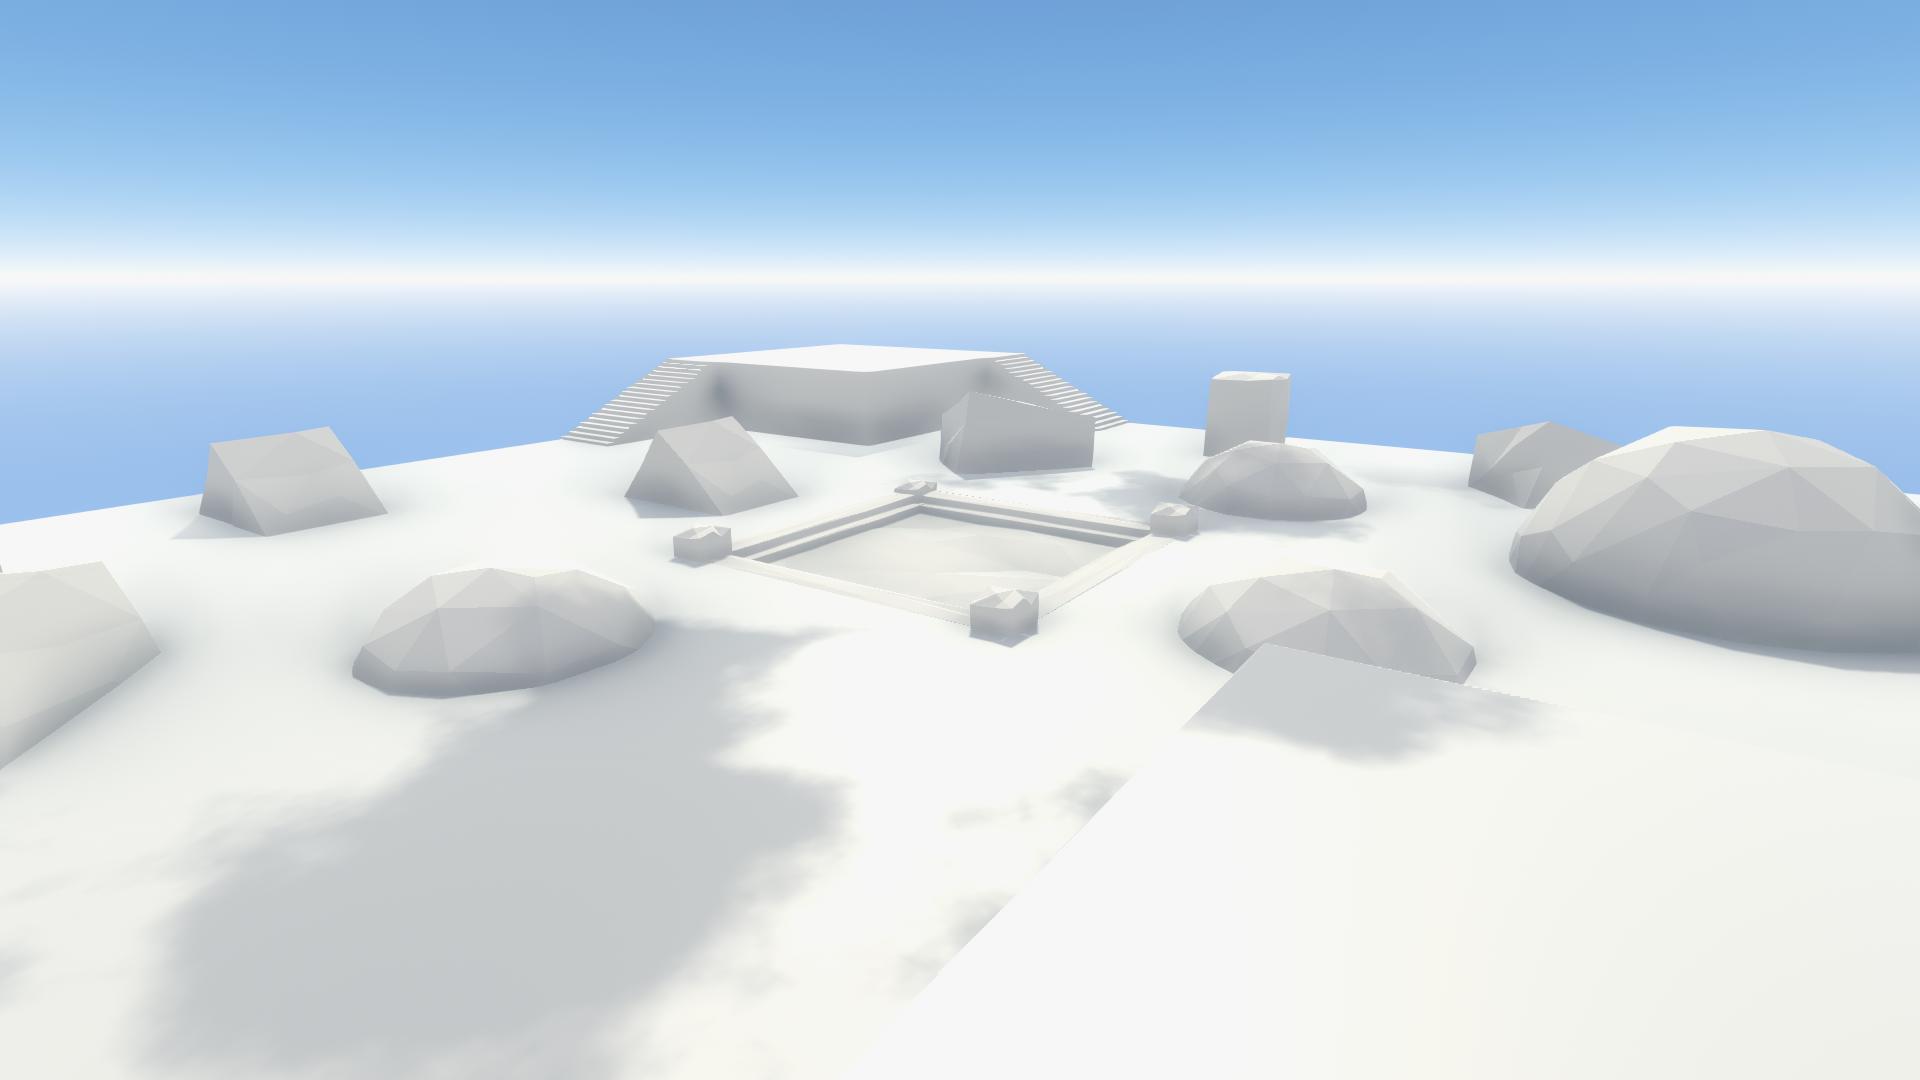
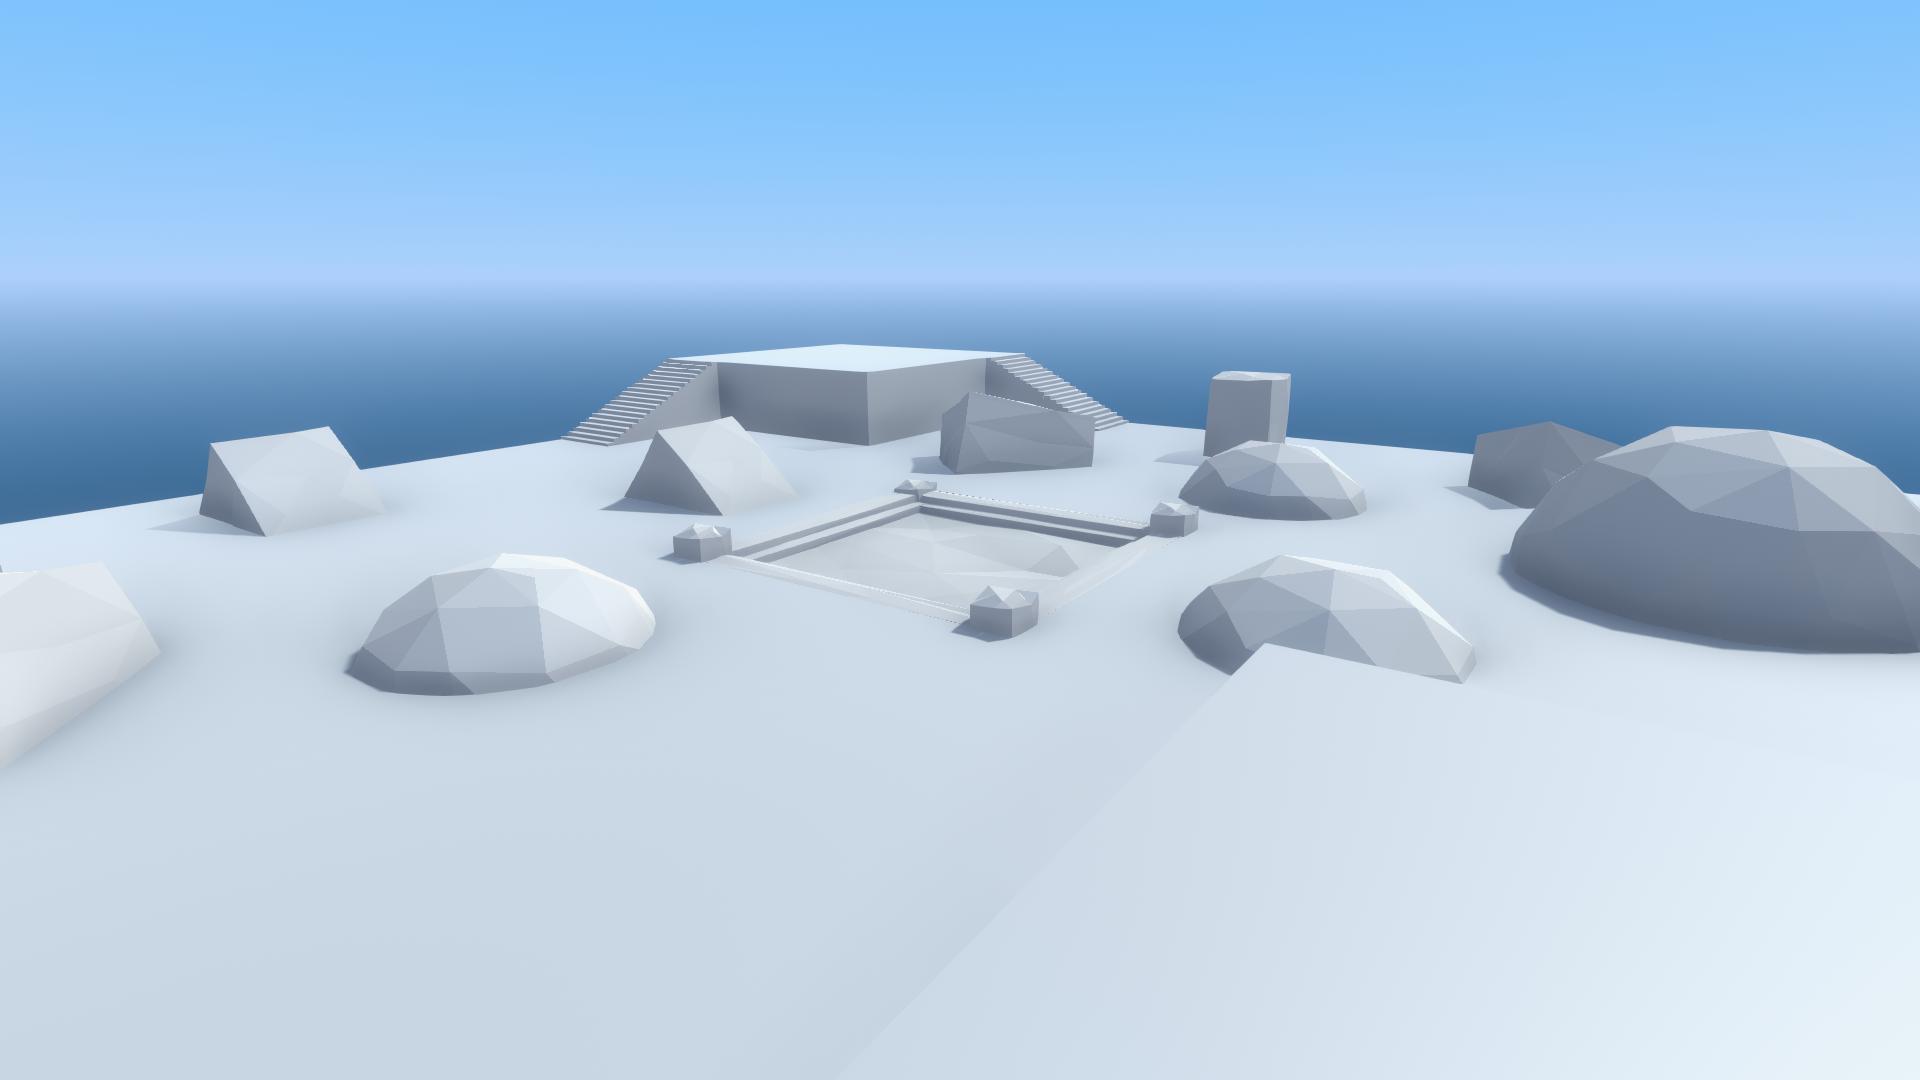
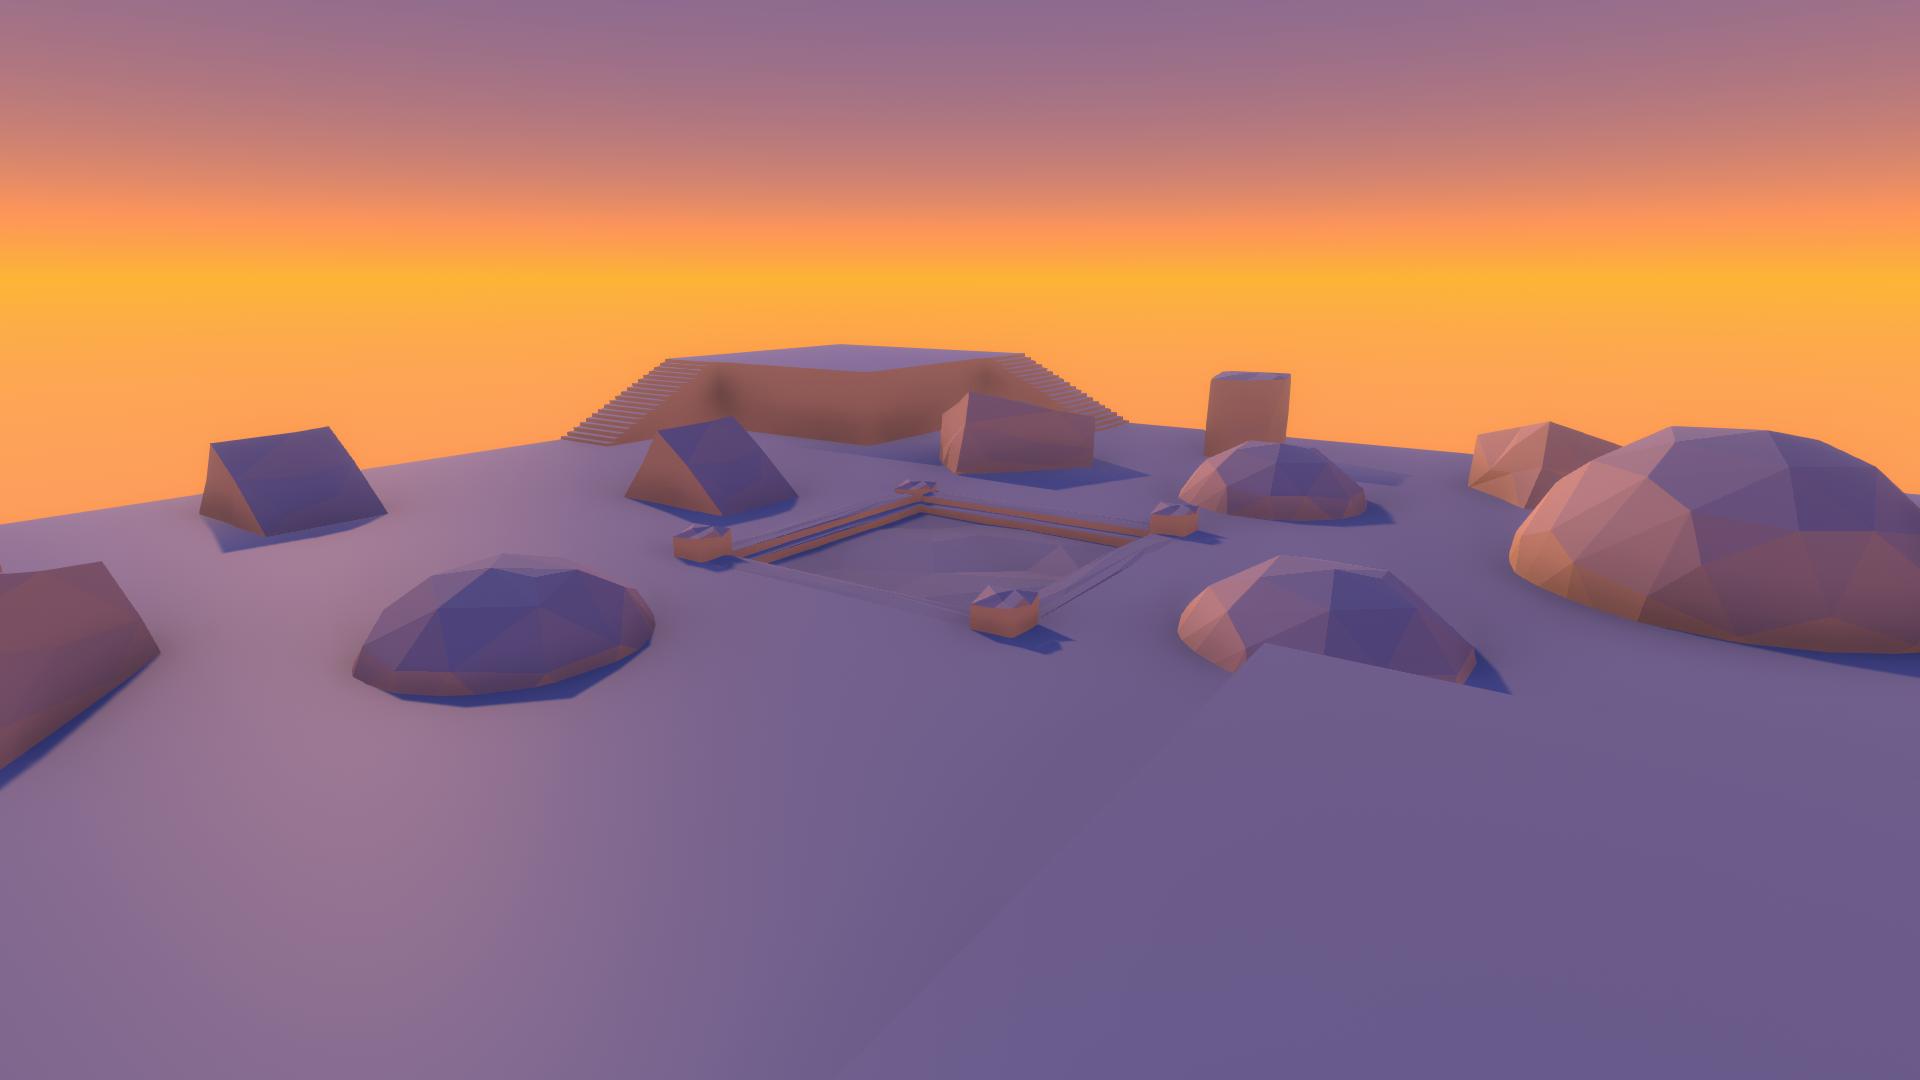
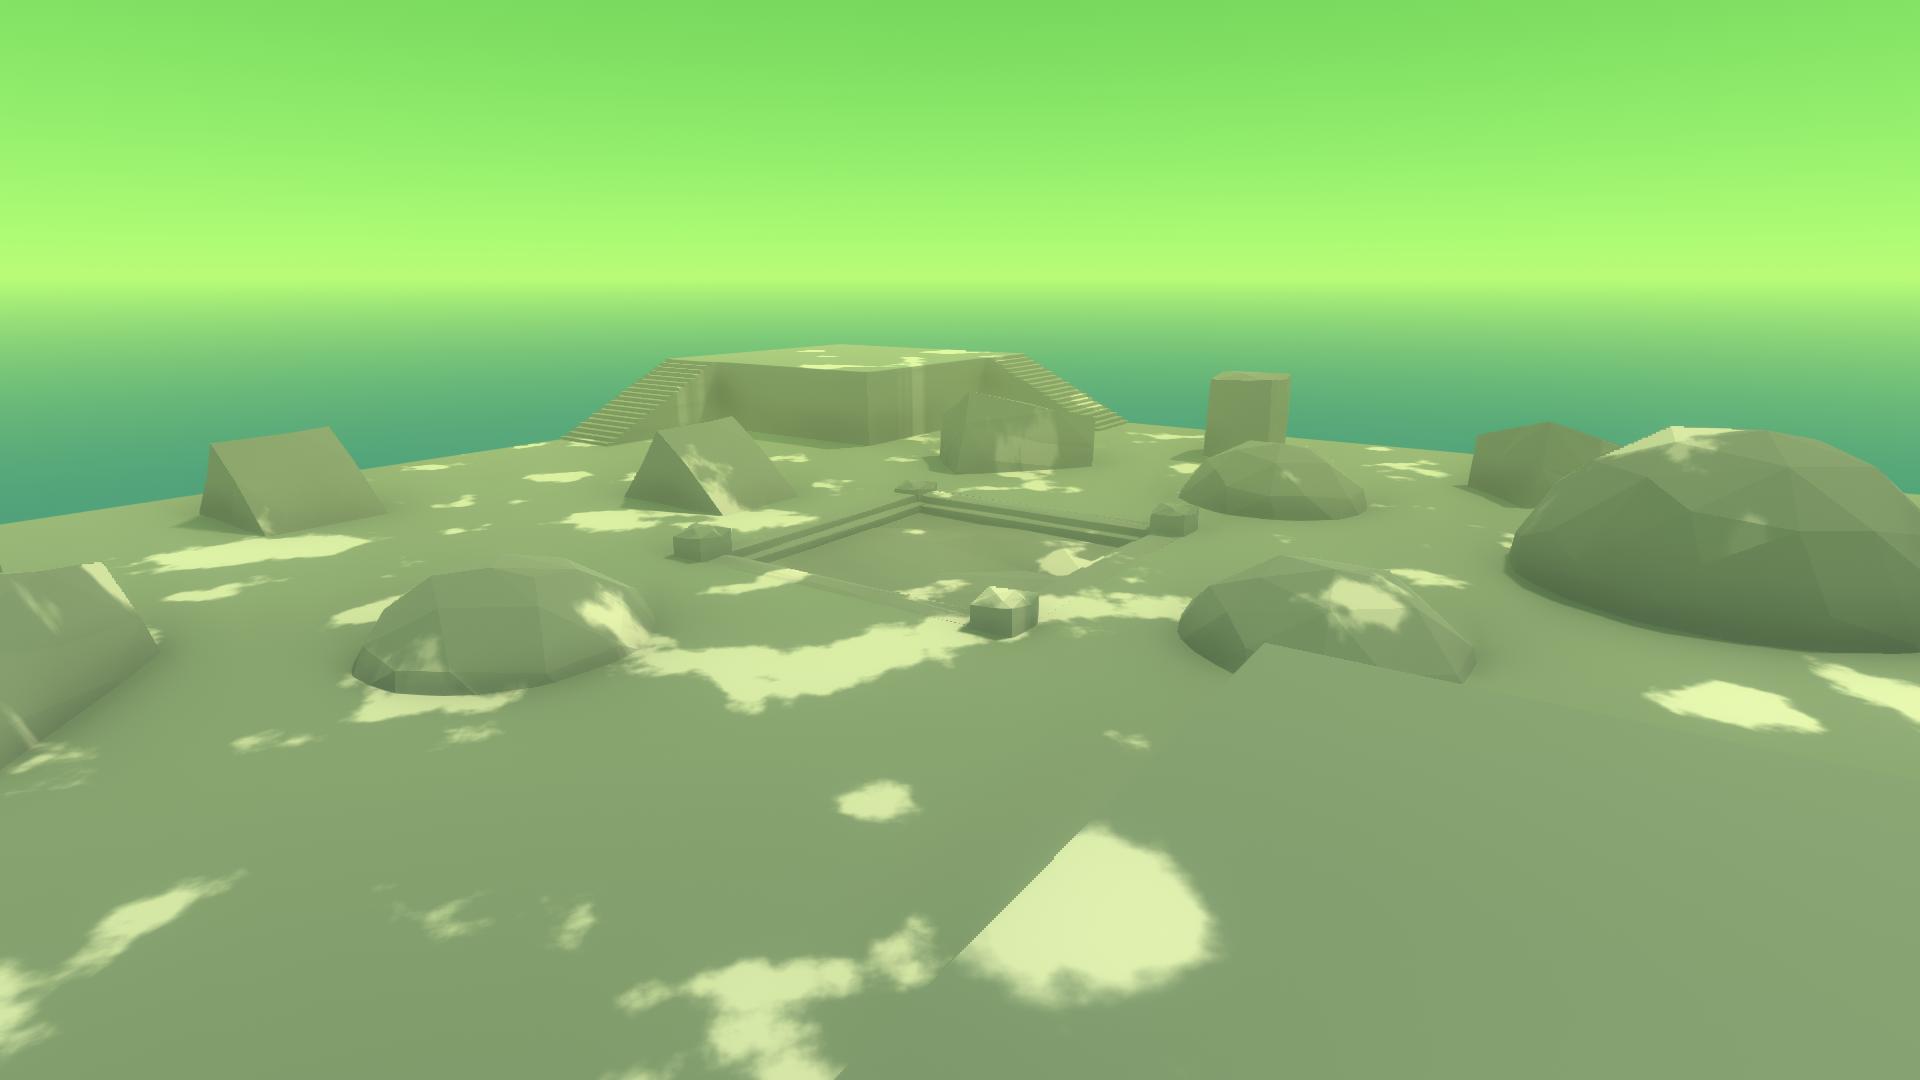
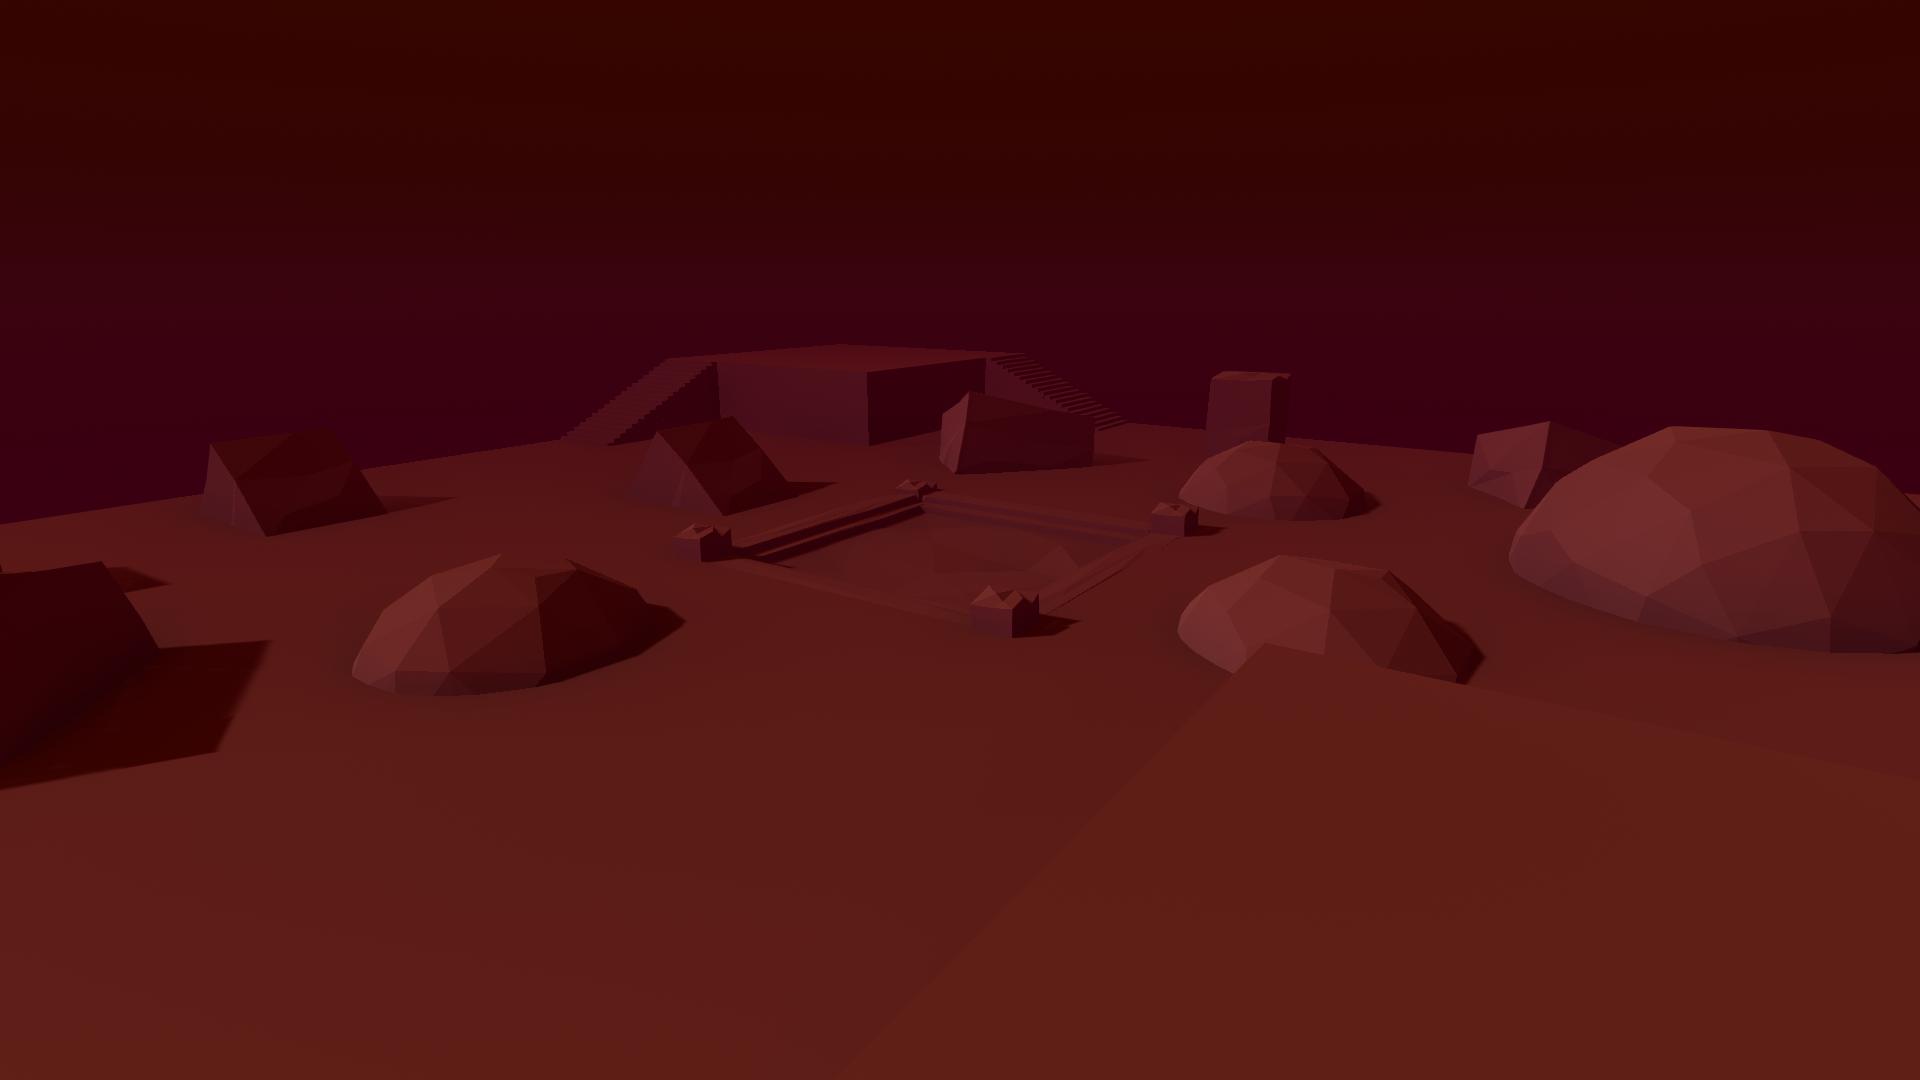
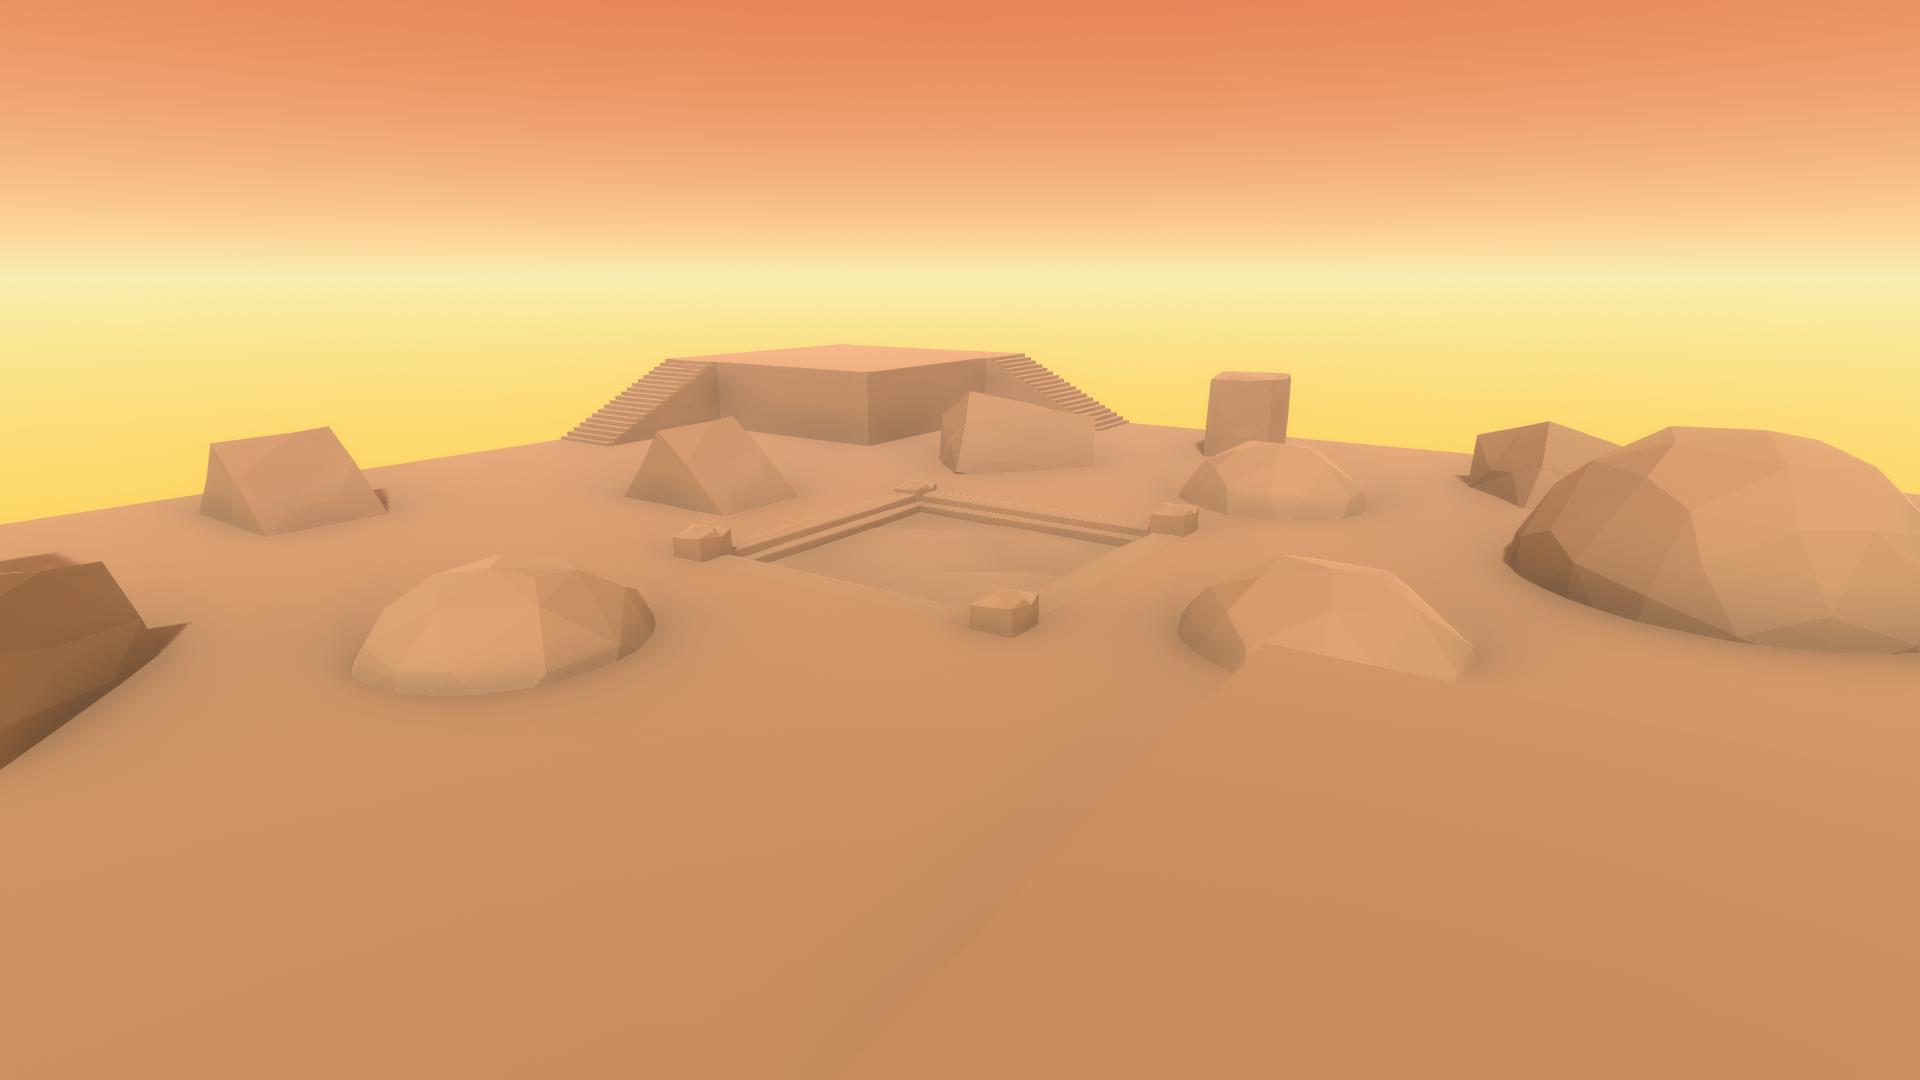
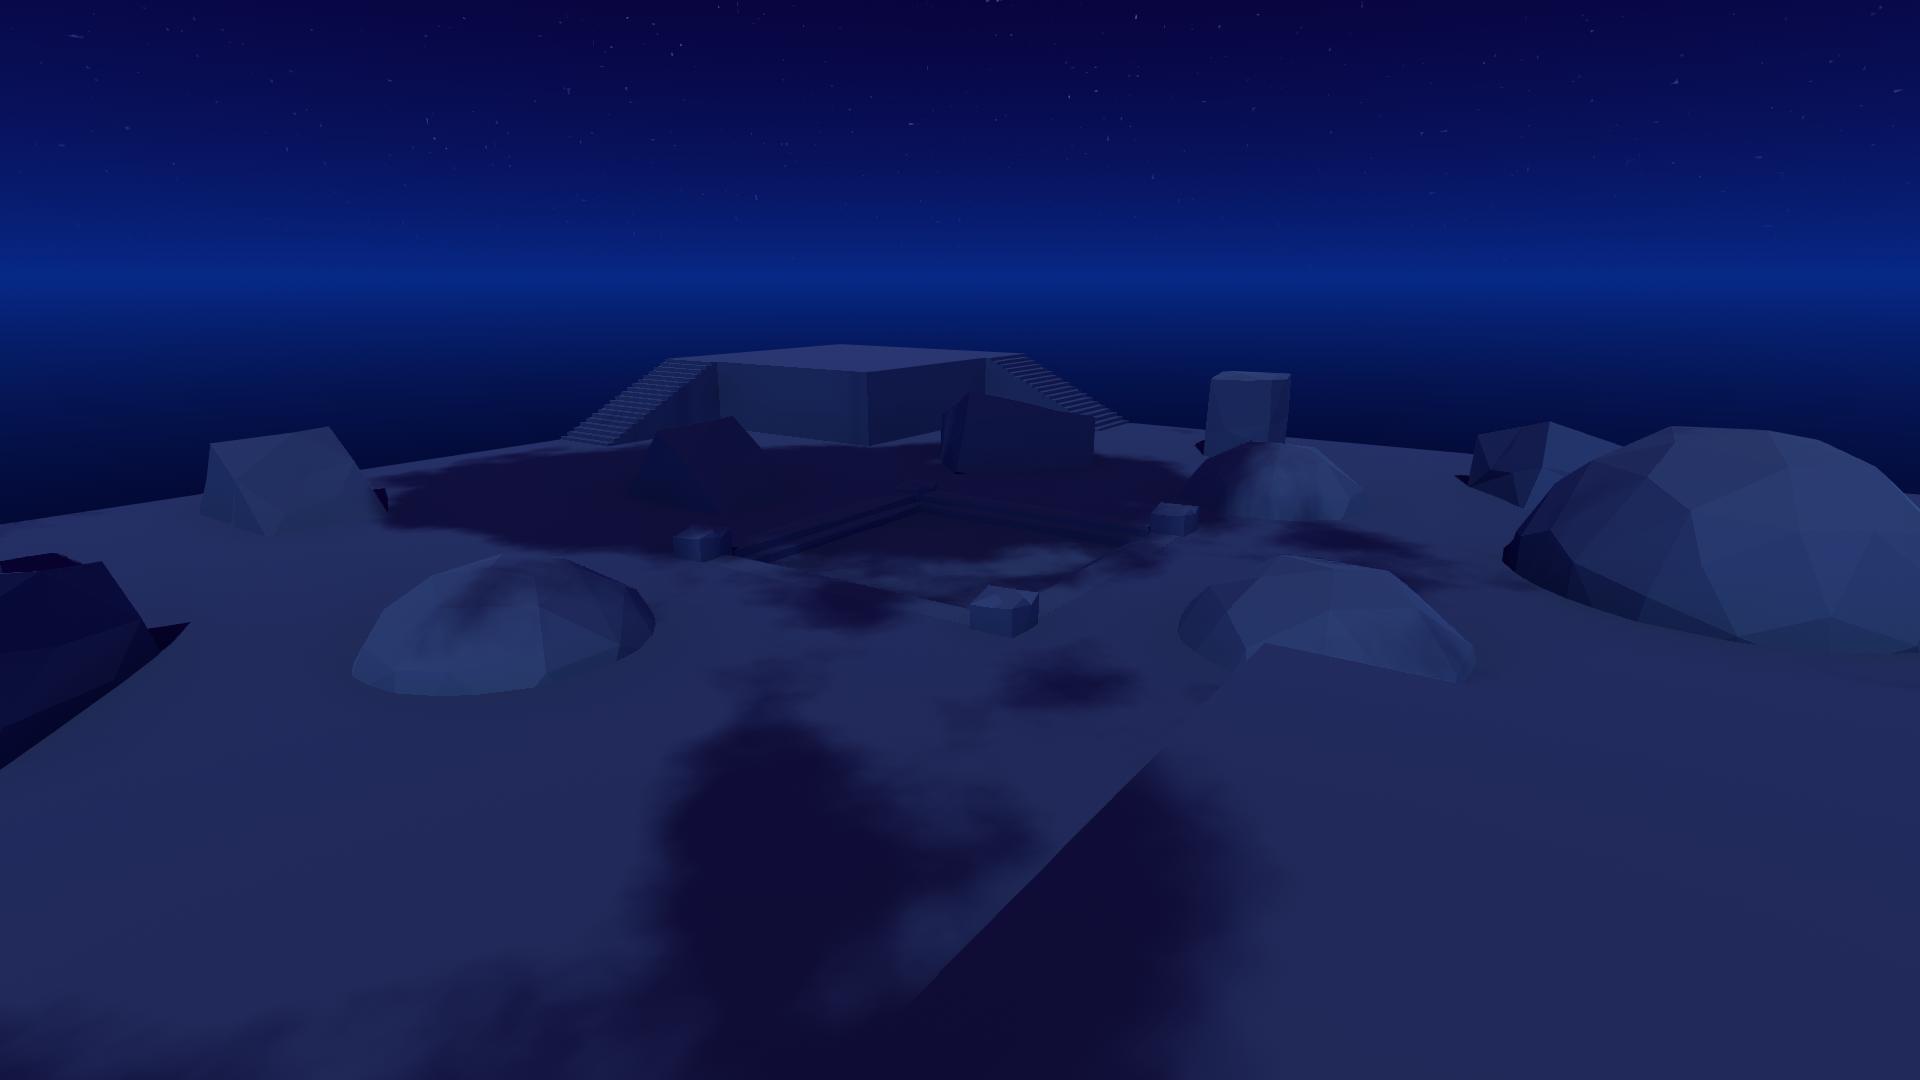
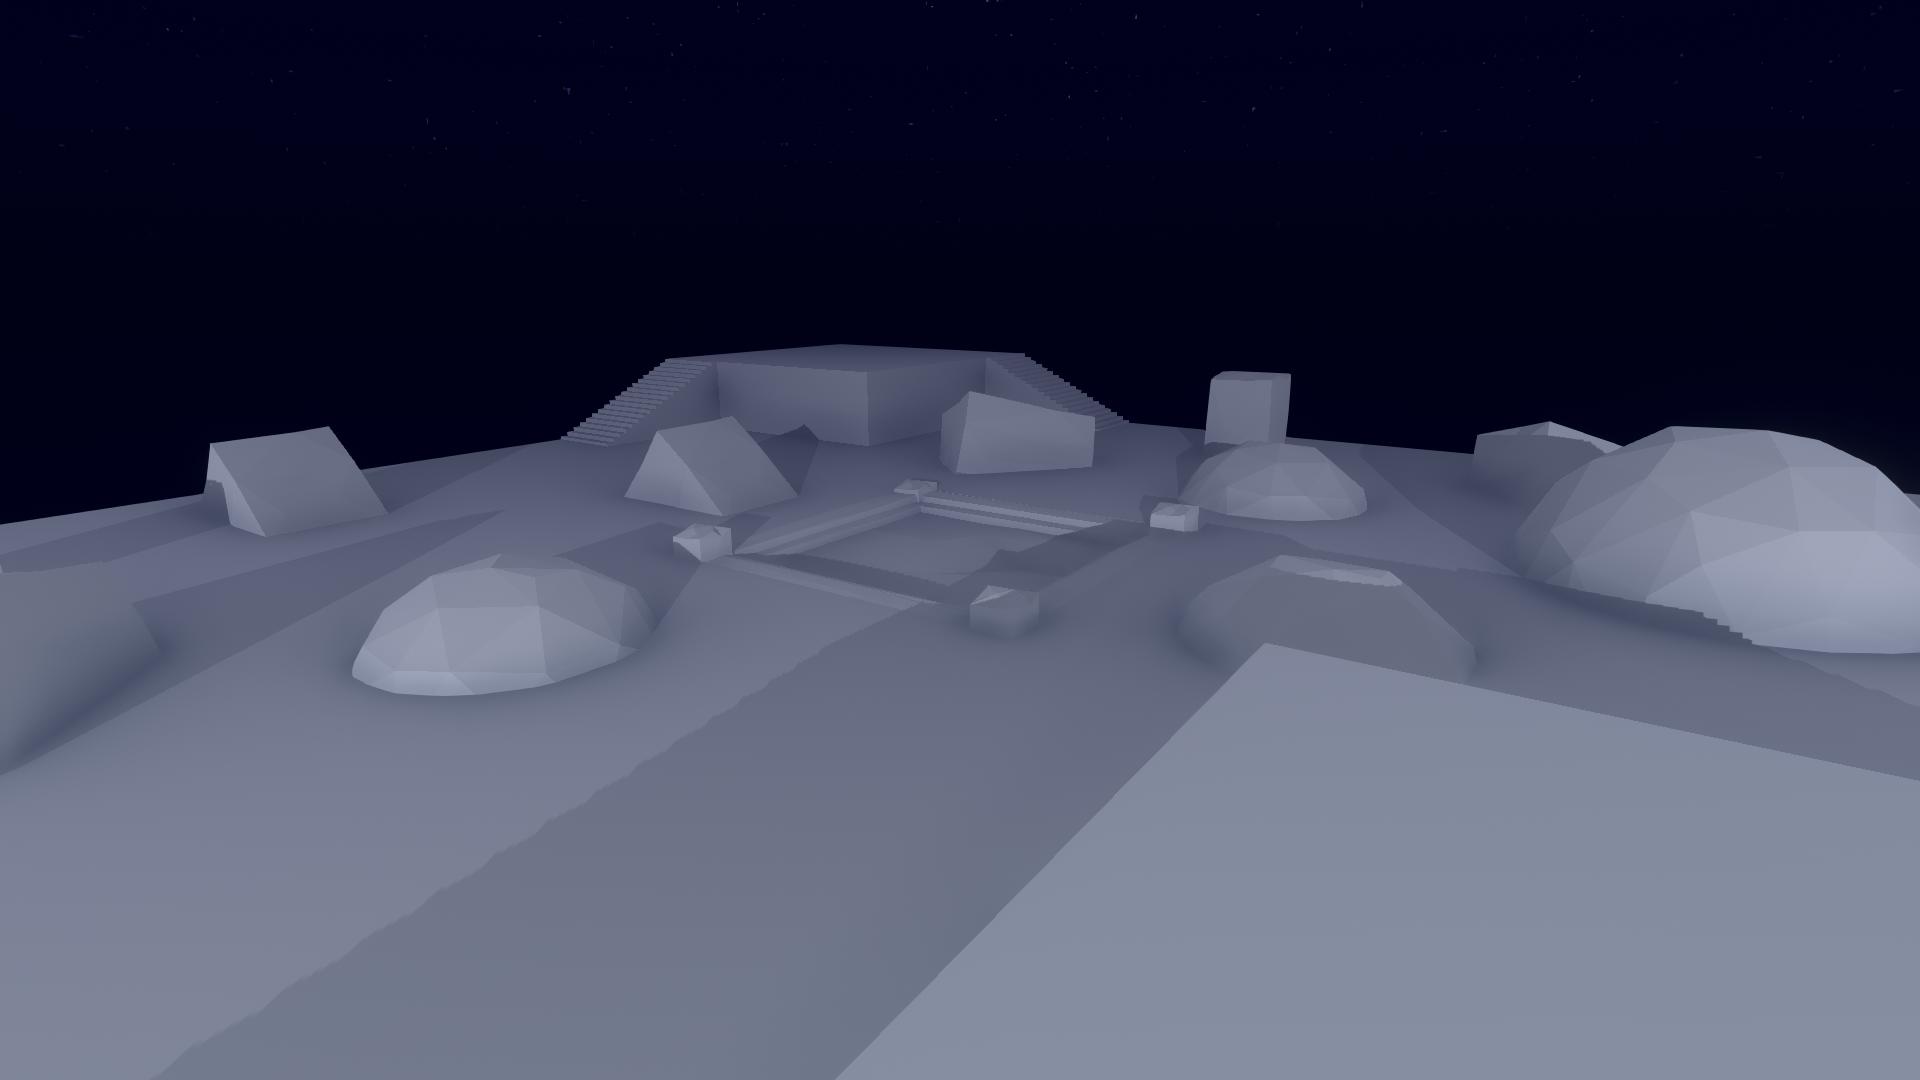
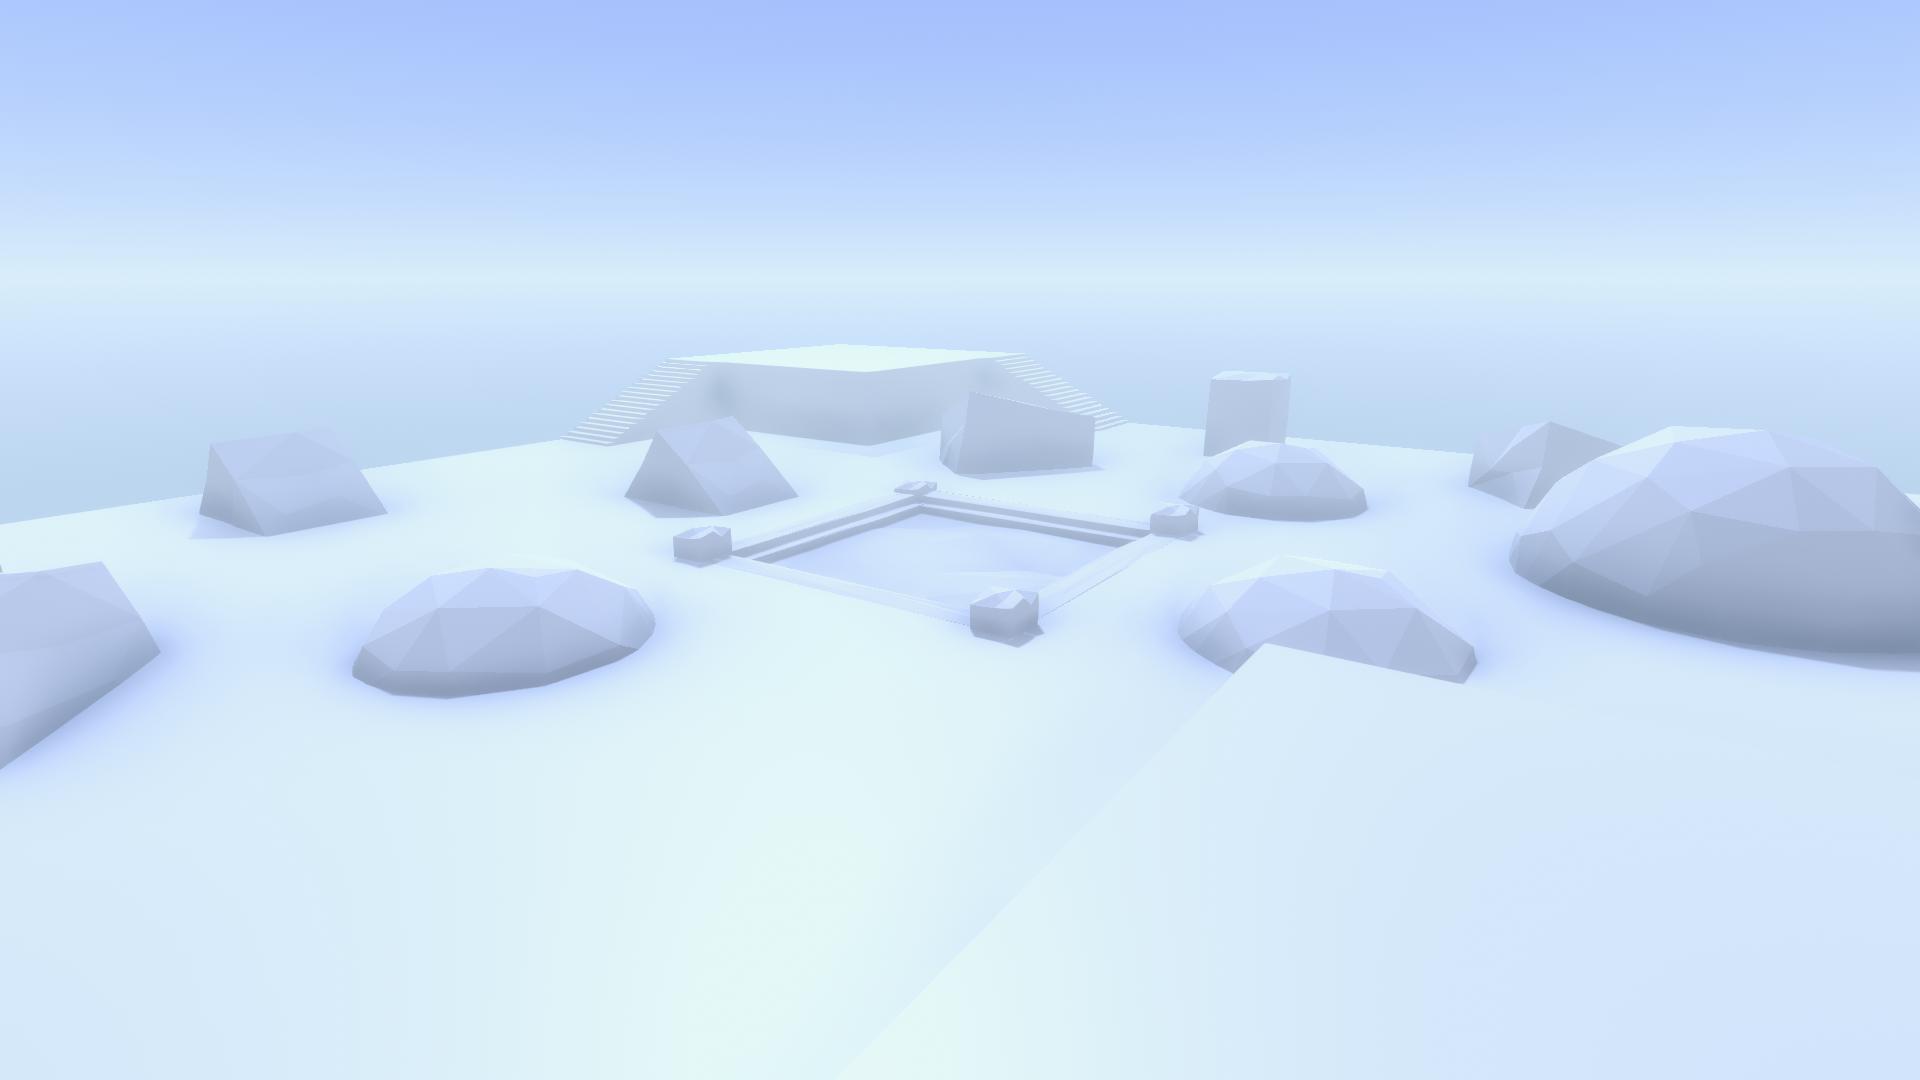
The mod editor comes with 13 built-in lighting templates. These show off the different options available with the lighting settings. If none of them suits your mod you can create your own custom lighting
Custom Lighting
Custom lighting allows you to set all of the values of the different lighting settings available. Enable custom lighting by setting the Lighting Preset to "Custom". You can start changing the settings and visually see the scene view change. If you'd like to create custom lighting that uses one of the built-in presets as a starting point, use the "Import Built-in Lighting Profile" foldout to select a built-in preset and load it into the custom lighting settings.
Skybox
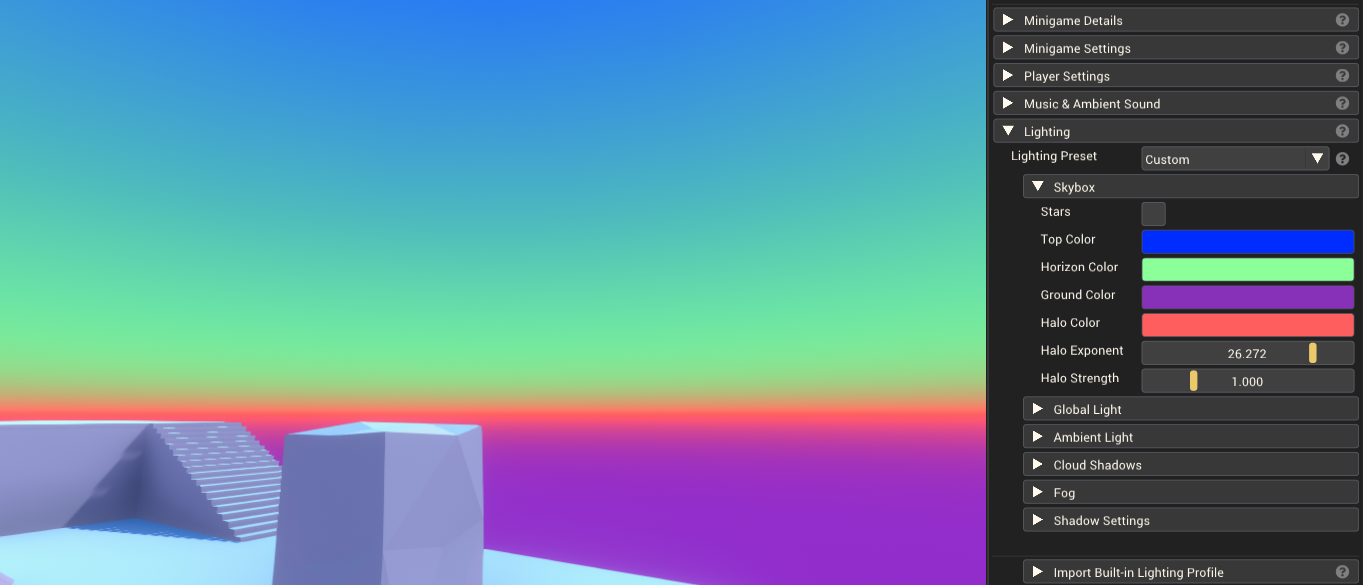
The skybox is the colored sphere that surrounds the scene. The skybox color can slightly influence the color of the scene, or greatly influence the light in the scene if the ambient lighting is set to use the skybox color.
| Property | Description |
|---|---|
| Stars | Should stars be visible in the sky. |
| Top Color | The color of the sky when looking straight up. This color fades down to the horizon. |
| Horizon Color | The color of the sky from the horizon, blending up into the Top Color. |
| Ground Color | The color of the sky when looking straight down. This color blends up into the horizon. |
| Halo Color | The color of the thin band of the sky around the horizon. |
| Halo Exponent | Controls the blending/falloff of the Halo Color. Higher values will make this blend faster with the halo color in a tight band. Low values blend smoother and spread the color across more of the skybox. |
| Halo Strength | How strong the Halo Color is when blended into the sky. Lower values will make it darker, moving towards black. Higher values will move it towards white. A value of 1 retains the full halo color. |
Global Light
This section creates a directional light that can act as the sun. This light shines in a given direction equally lighting all objects from that direction.
| Property | Description |
|---|---|
| Use Global Light | Should a global light (sun) be used in the mod. Disabling the global light may be useful if you want to do your own lighting using directional Light Components, or if you don't want any directional lighting in the scene. |
| Sunlight Direction | The X,Y,Z Euler angles that describe the rotation of the light. A value of 0,0,0 will point the light towards the positive Z axis, or forward in the world. |
| Sunlight Color | The color of the global directional light. |
| Sunlight Intensity | The intensity or brightness of the light. |
| Shadow Strength | The strength or darkness of the shadows. 1 is completely dark while 0 is no visible shadow. |
| Sun Shadow Mode | What type of shadows the global directional light will use. Can be None, Soft or Hard. Soft and hard changes the edges of shadows to be either blurred or sharp. |
Ambient Light
Ambient light is a soft light that illuminates all objects equally from all directions.
| Property | Description |
|---|---|
| Ambient Source | What should determine the color of the ambient lighting. |
| Skybox | The colors of the skybox will be used as the ambient light colors. |
| Ambient Intensity | The strength or brightness of the ambient lighting color from the skybox. |
| Gradient | The gradient between two colors is used as the ambient light colors. |
| Ambient Sky Color | The color used for ambient lighting on the top of objects. |
| Ambient Equator Color | The color used for ambient lighting on the sides of objects. |
| Ambient Ground Color | The color used for ambient lighting on the underside of objects. |
| Color | A single color is used as the ambient light color. |
| Ambient Color | The color used for ambient lighting. |
Cloud Shadows
Cloud shadows allow you to add shadows that move and change over time. These shadows are projected vertically downwards onto the scene.
| Property | Description |
|---|---|
| Use Cloud Shadows | If cloud shadows should be used. |
| Primary Cloud Speed | A value that increases the movement speed of the clouds. |
| Secondary Cloud Speed | A value that increases the movement speed of the clouds. |
| Cloud Intensity | The strength of the shadows. 1 is a completely black shadow while 0 is no shadow. |
| Cloud Sparseness | How sparseness/denseness of the cloud shadows. Low values are very dense with mostly shadows, high values are very sparse with few shadows. |
| Cloud Size | The size of the shadows. Higher values make larger shadows. |
Fog
Fog will fade the color of distant objects towards the fog color. It is best to match the fog color to the skybox color for a smooth transition between distant fog and sky.
| Property | Description |
|---|---|
| Use Fog | If fog should be used. |
| Fog Color | The color of the fog. |
| Fog Mode | A value that increases the movement speed of the clouds. |
| Linear | The fog becomes linearly more dense between two distances. |
| Fog End Distance | How many units from the camera before the fog is completely opaque. |
| Fog Start Distance | How many units from the camera before the fog begins. |
| Exponential | The fog becomes more dense exponentially over distance. |
| Exponential Squared | The fog becomes denser by a squared exponential of the distance. |
| Fog Density | A value describing the density of the fog. Any values above ~0.1 will be very dense. Keep the values small (< 0.1), with smaller values resulting in thinner fog up close. |
Shadow Settings
| Property | Description |
|---|---|
| Shadow Distance | The distance in units from the camera in which shadows will be drawn. Anything beyond this will not have shadows. |
| Shadow Cascades | Controls the quality of shadows over distance. Four cascades will use higher-quality shadows nearby and lower-quality shadows at a distance. Zero will use a single quality of shadow for all distances, so close shadows may appear blurry/pixelated. Four cascades are the most demanding on performance, while zero is the least. |
Exporting/Importing Custom Lighting Profiles
You can create your own custom lighting profiles using the "Export Custom Lighting Profile" section towards the bottom of the lighting settings. This saves the lighting settings to a custom profile that can be loaded again at any time. It can even be loaded from other mods; the profile is not tied to the mod it was created in.
To import a saved custom profile, use the "Import Custom Lighting Profile" section and select your saved profile from the dropdown.
Advanced
Saving a custom lighting profile saves it as a .json file. This file can be found inside C:\Users\<Your user name>\AppData\LocalLow\Rebuilt Games\Pummel Party\ModEditorCustomLightingProfiles. The AppData folder is hidden on Windows, so you'll need to enable "Show Hidden Folders" in windows explorer to view it. Alternatively, you can access the folder by hitting "Windows Key + R" and entering %appdata%. This will open /AppData/Roaming, from which you can go up a level and then into /AppData/LocalLow/...
This saved lighting settings file can be shared with friends if you want to share a lighting profile.
Making a completely dark scene
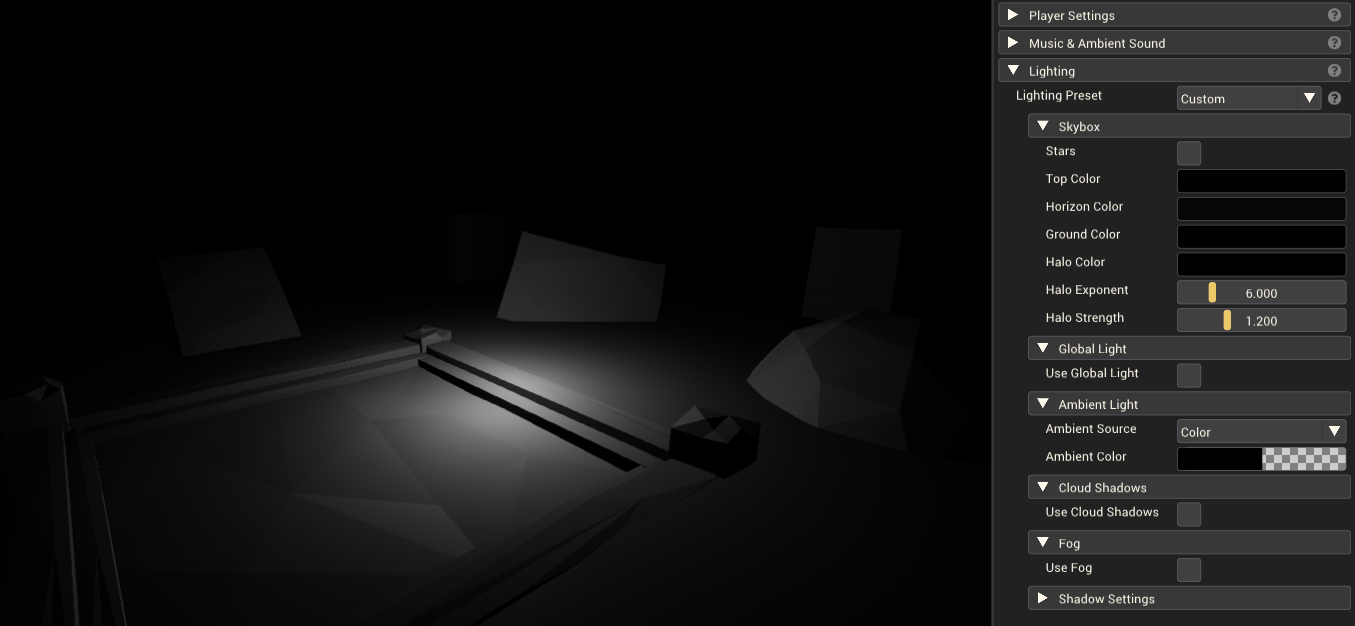
There are a few things that go into adding light to the scene. If you want a completely dark scene you'll need to consider these things.
- The global light will add light coming from a given direction. You can disable this by unticking Use Global Light under Global Light.
- The Ambient Light applies soft lighting to everything in the scene in all directions. To disable this, set the Ambient Source to "Color" and set the Ambient Color to black.
- The skybox will add some light to the scene. Set the different skybox colors to black to get a completely dark scene.
- Also disable fog, or set the Fog Color to black.
